Local Branches
The "Local Branches" view in the Git perspective provides a centralized location to manage and interact with local branches in your Git projects. This section provides an overview of the key features and actions available in the "Local Branches" view.
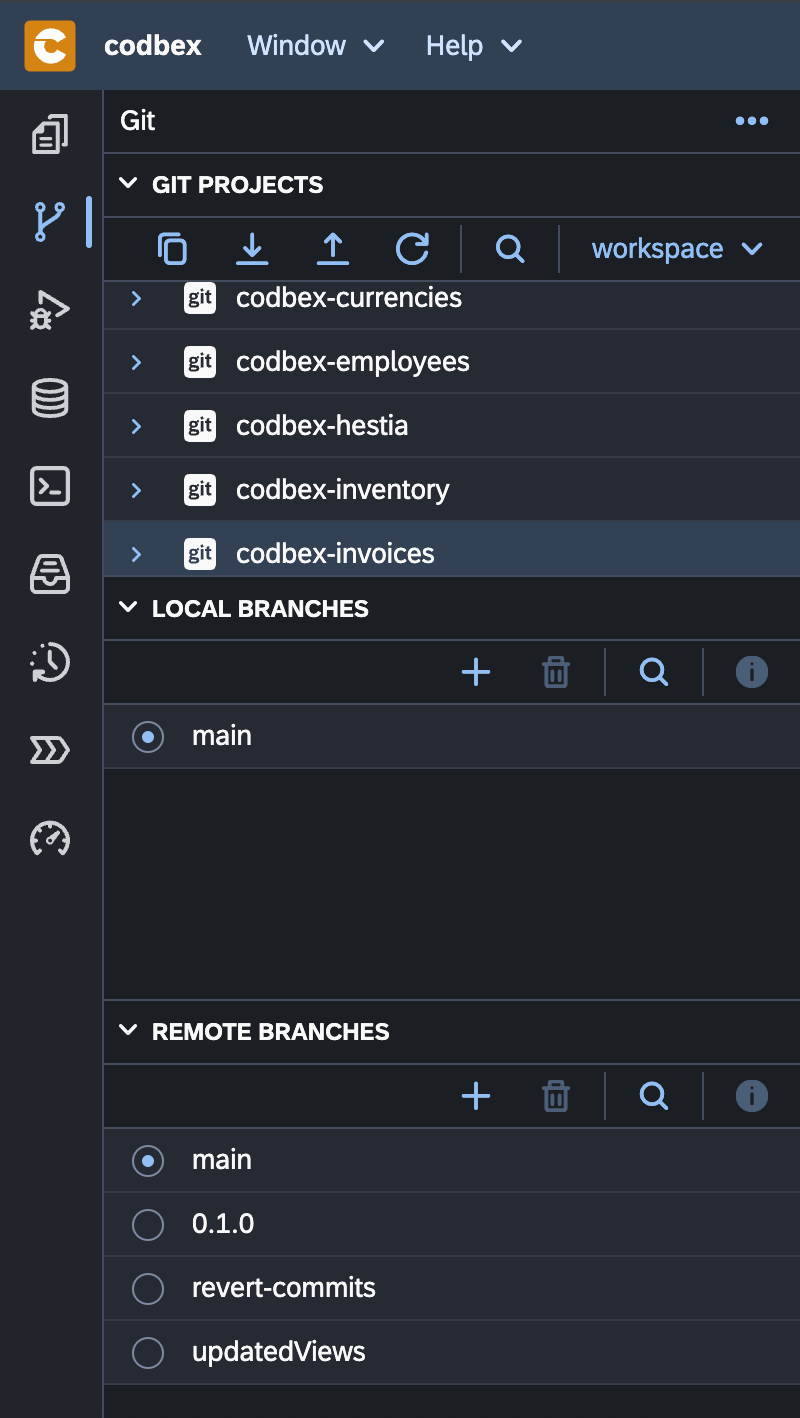
Managing Local Branches
- Open the Local Branches View:
-
To open the Local Branches view, navigate to the Git perspective and select "Local Branches" from the Git toolbar.
-
View Existing Local Branches:
-
The Local Branches view displays a list of existing local branches in your Git repository.
-
Create a New Local Branch:
-
Create a new local branch by clicking on the "Create Branch" ("+") button in the toolbar.
-
Switch Between Local Branches:
-
Switch between existing local branches by selecting on the desired branch in the Local Branches view.
-
Delete Local Branch:
- Remove unnecessary local branches by clicking on the button "Delete Branch".
Actions in the Local Branches View
1. Refresh Branch List:
- Use the "Refresh" button in the Local Branches toolbar to update the list of local branches.
2. Search and Filter:
- Utilize the search and filter options to quickly locate specific local branches in the view.
3. Create and Checkout New Branch:
- Click the "Create Branch" button to create a new branch and switch to it in one step.
Conclusion
The "Local Branches" view in the Git perspective provides a convenient way to manage and interact with local branches in your Git projects. Familiarize yourself with the available actions and branch management features to streamline your Git workflow.