Onboarding Process Tutorial 1: EDM Configuration
Introduction
Designing a solid data structure is one of the first and most important steps in building any application. In this blog post, we'll walk through how to create an Entity Data Model (EDM) using codbex Rhea with a simple, real-world sample project called Sample Employee Onboarding Process. Whether you're new to data modeling or just looking to brush up your skills, this guide will help you understand how entities, relationships, and data types come together to form the foundation of your application's data layer. By the end, you'll have a working example you can build on and adapt to your own projects.
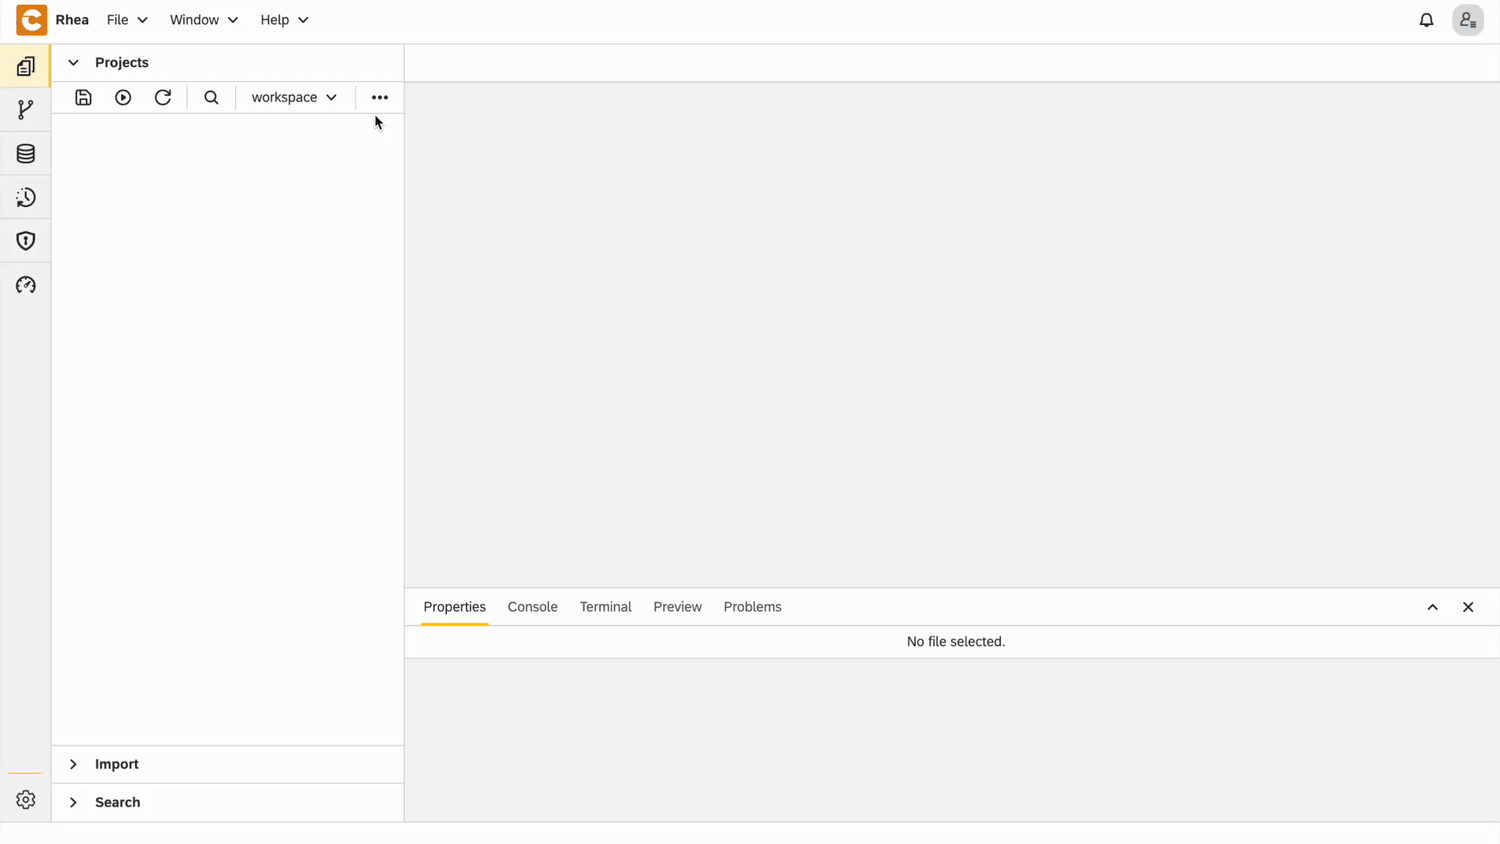
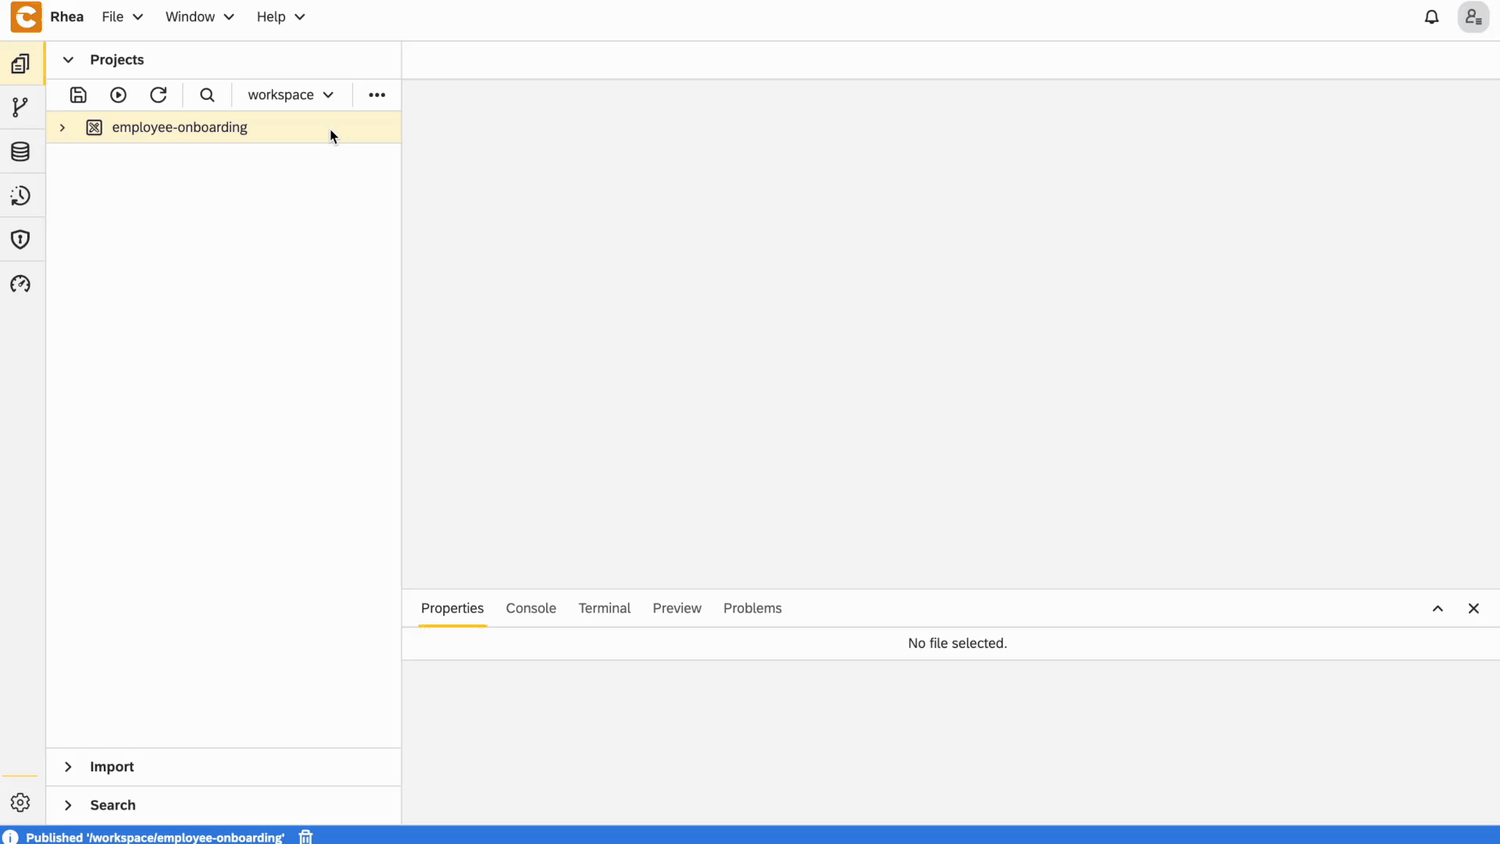
Create a New Project
- Create a new project and name it
employee-onboarding.
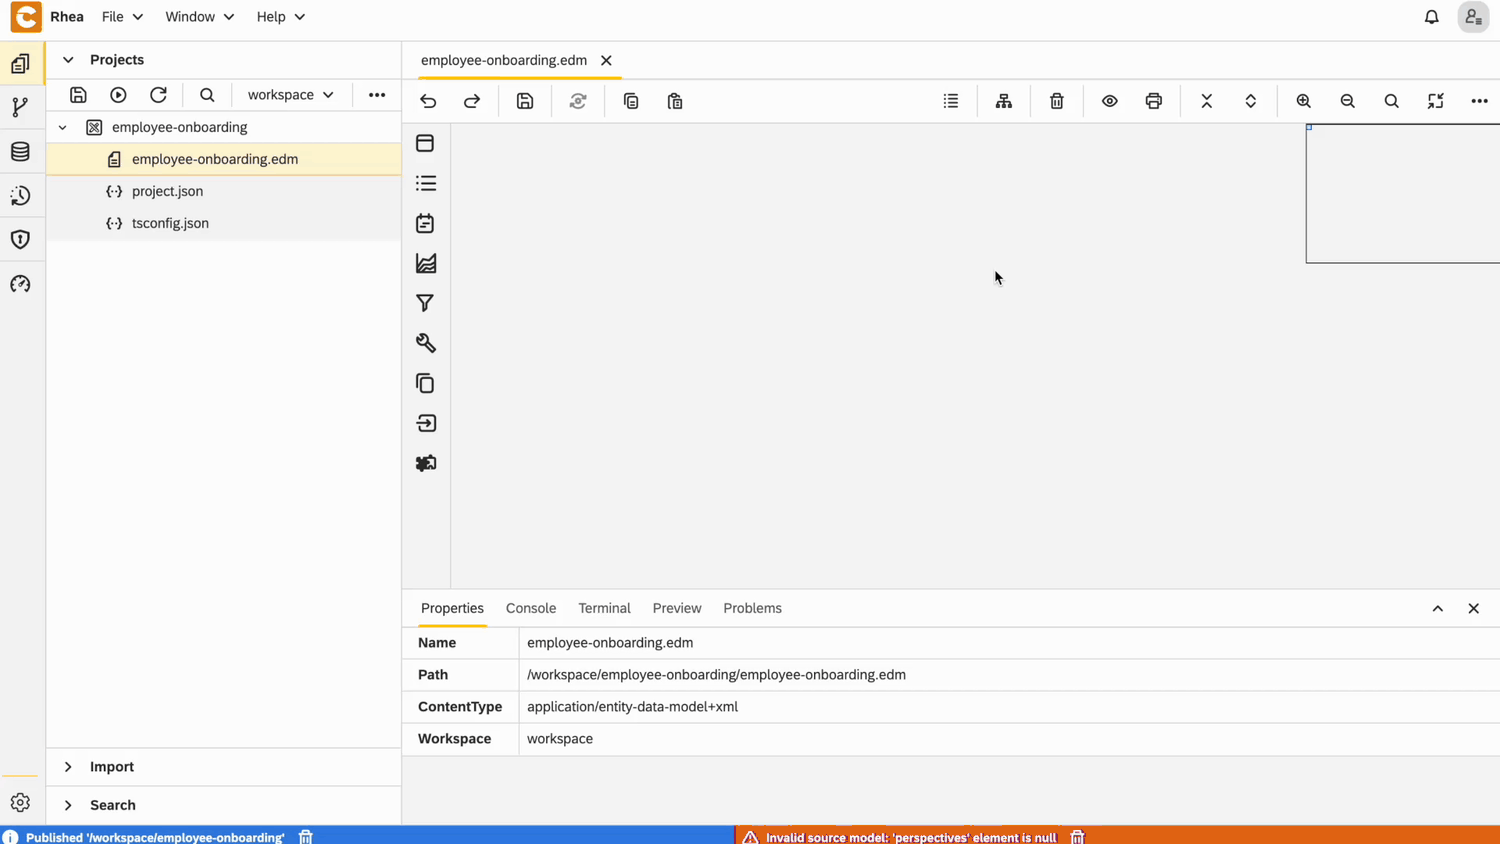
- Right-click on Project → New → Entity Data Model and name it
employee-onboarding.edm.
Navigations
- Add
Employees,TasksandEmployeeOnboardingnavigations
Entities
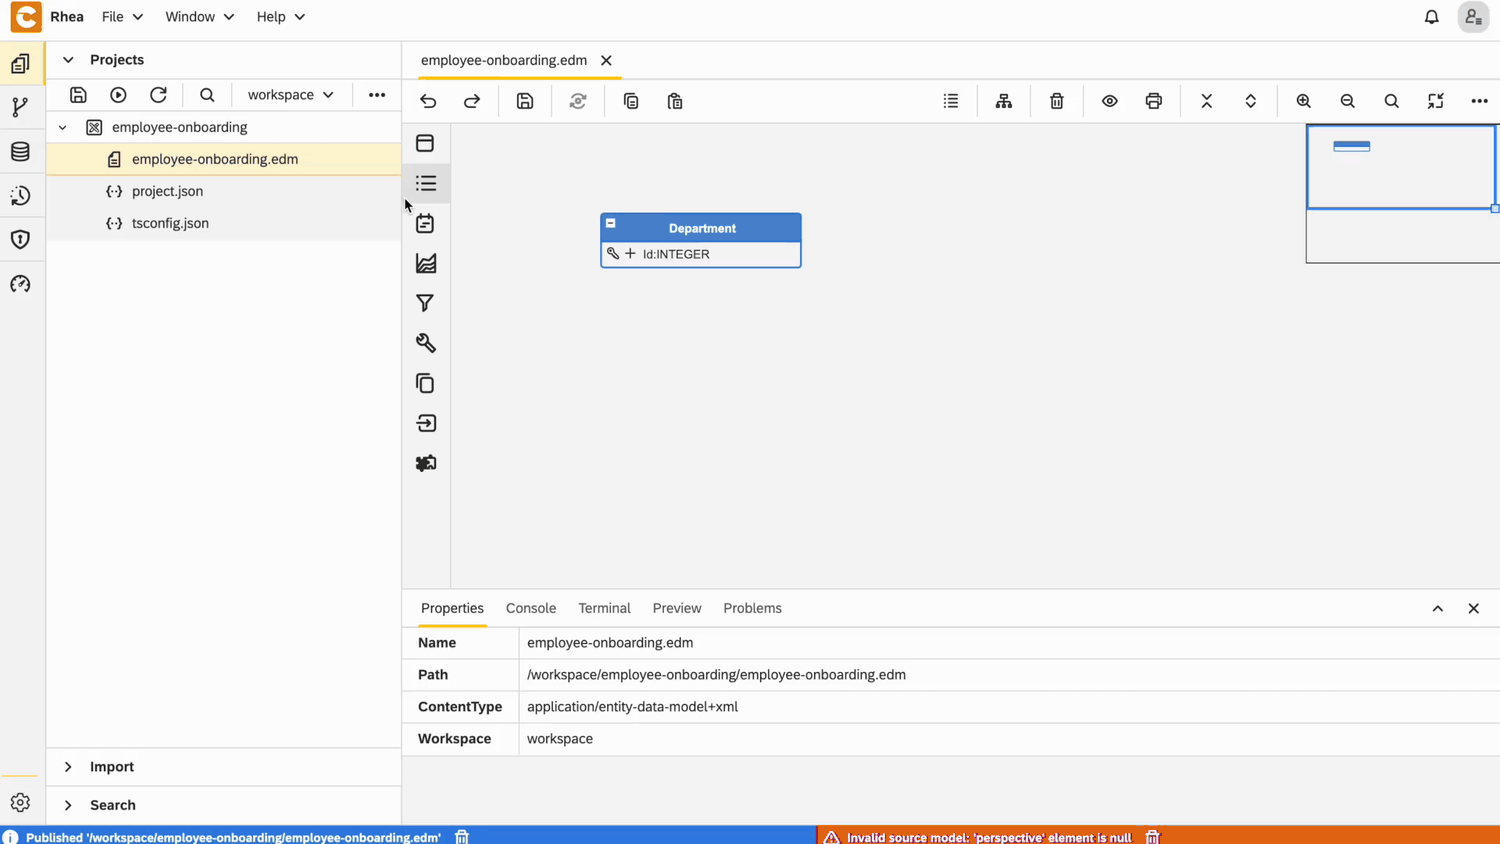
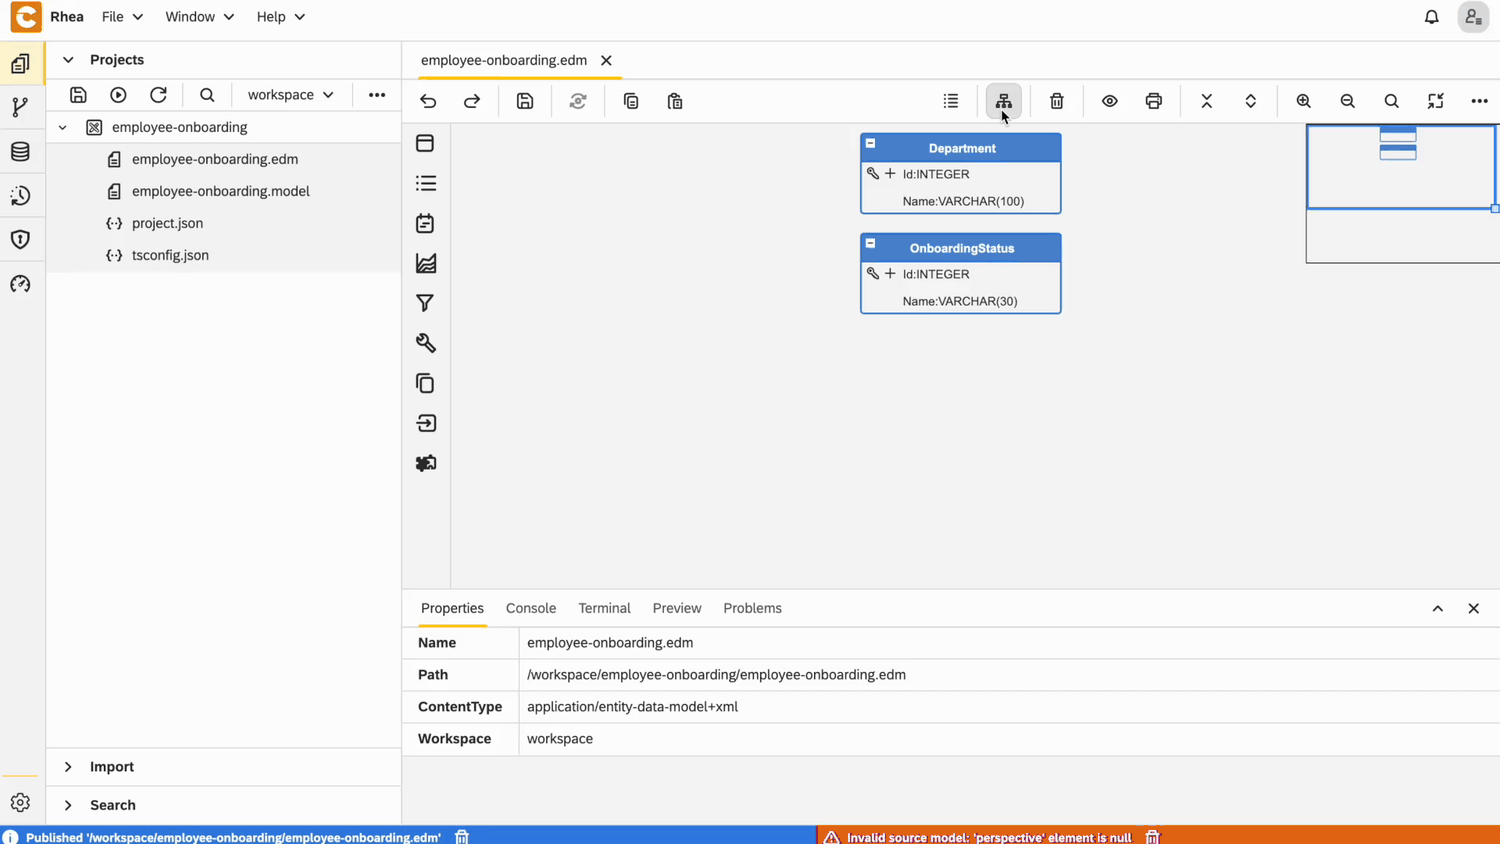
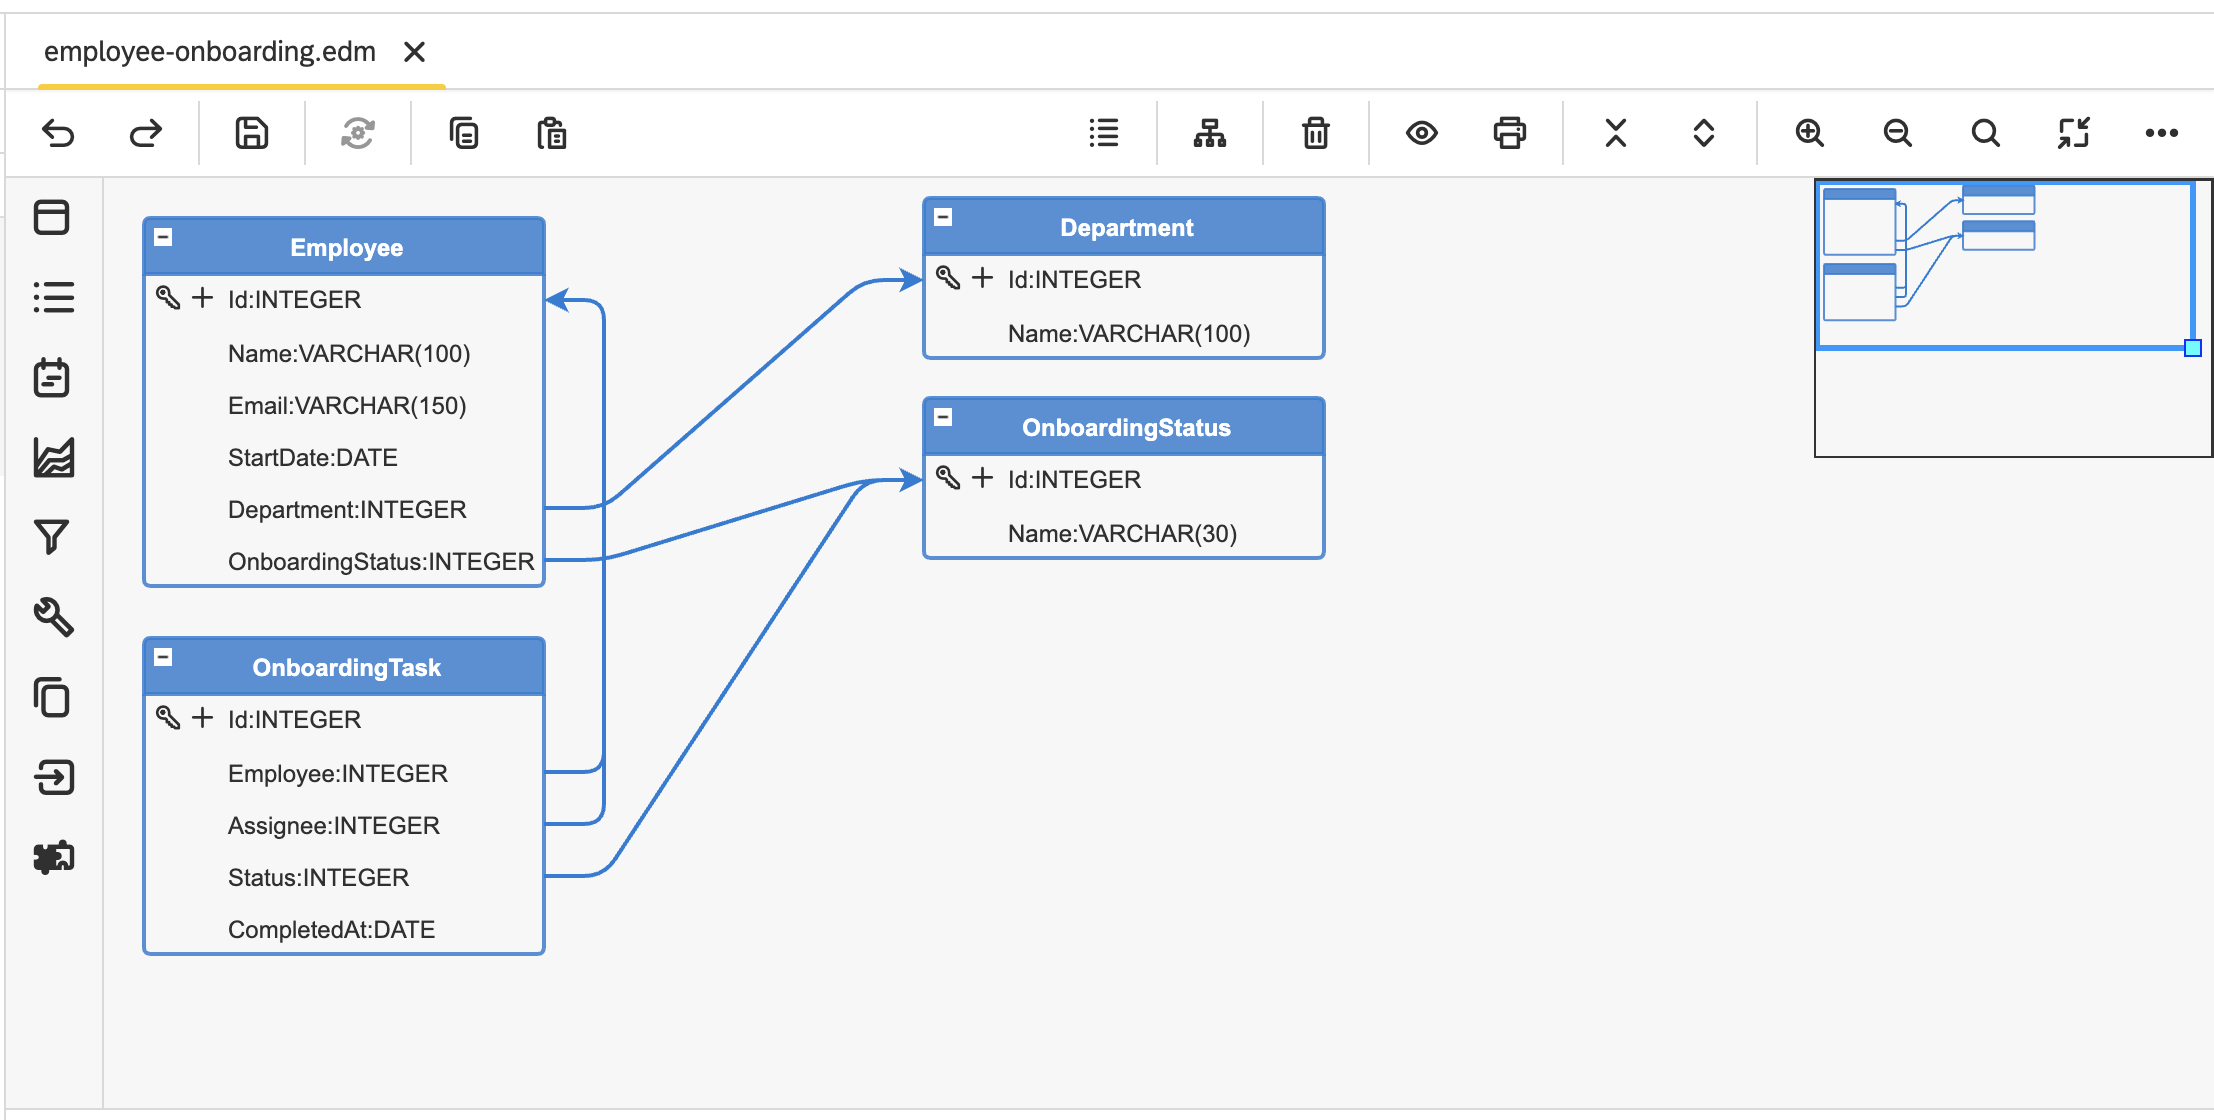
1. Department Entity
- Create an entity
- Right-click on the entity and open
Properties - In the General section: - Set Name to
Department- Set Type toSetting Entity

- Add text field for
Name, make it required and set its length to be 100 characters
2. Onboarding Status Entity
Create an entity and set its name to
Onboarding StatusRight-click on the entity and open
PropertiesIn the General section: - Set Type to
Setting EntityAdd text field for
Name, make it required and set its length to be 30 characters
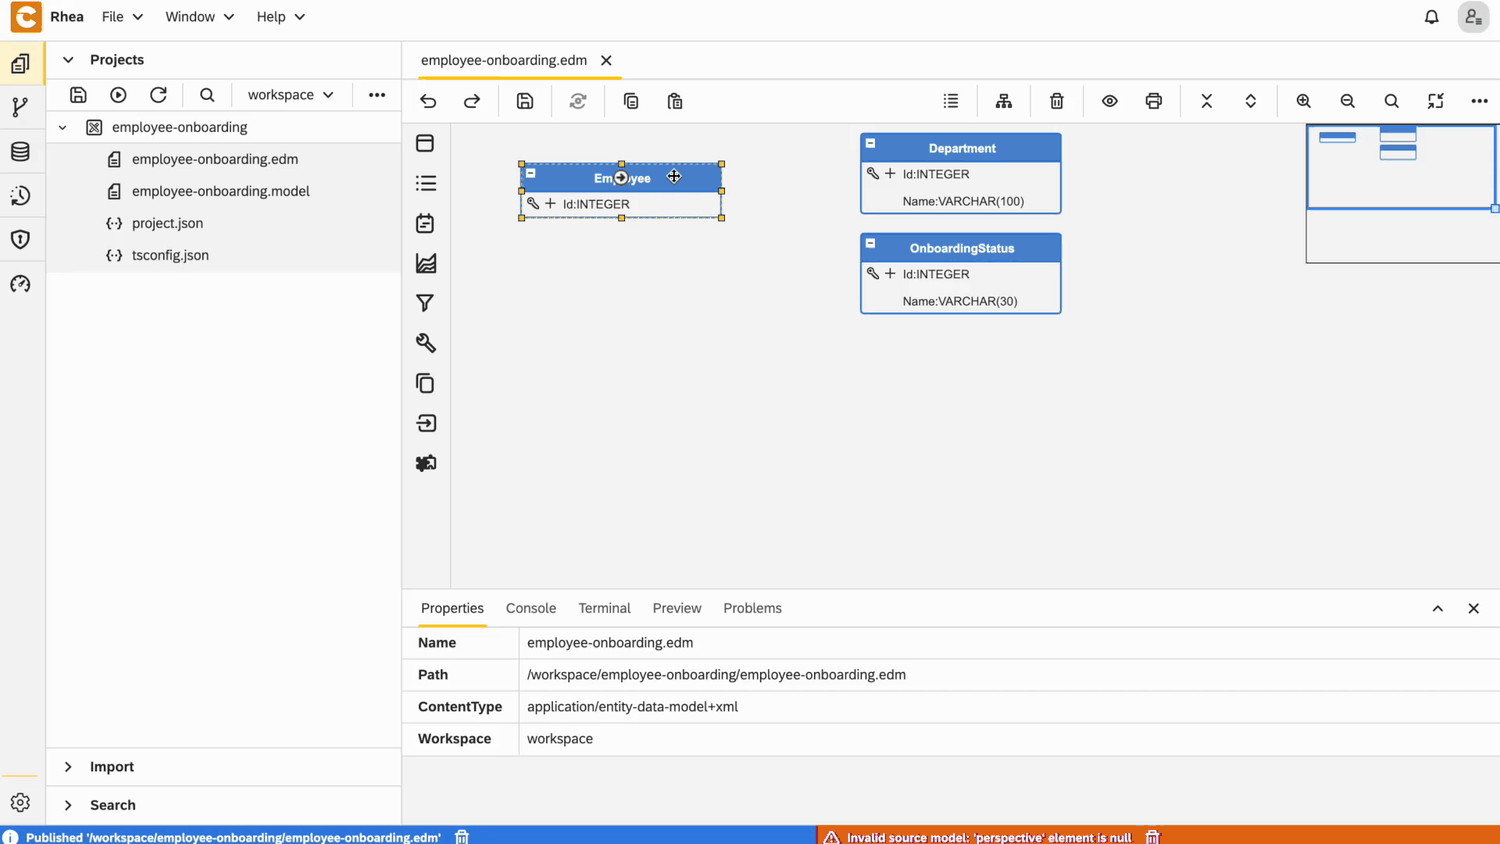
3. Employee Entity
- Add Perspective for
Employeethis way
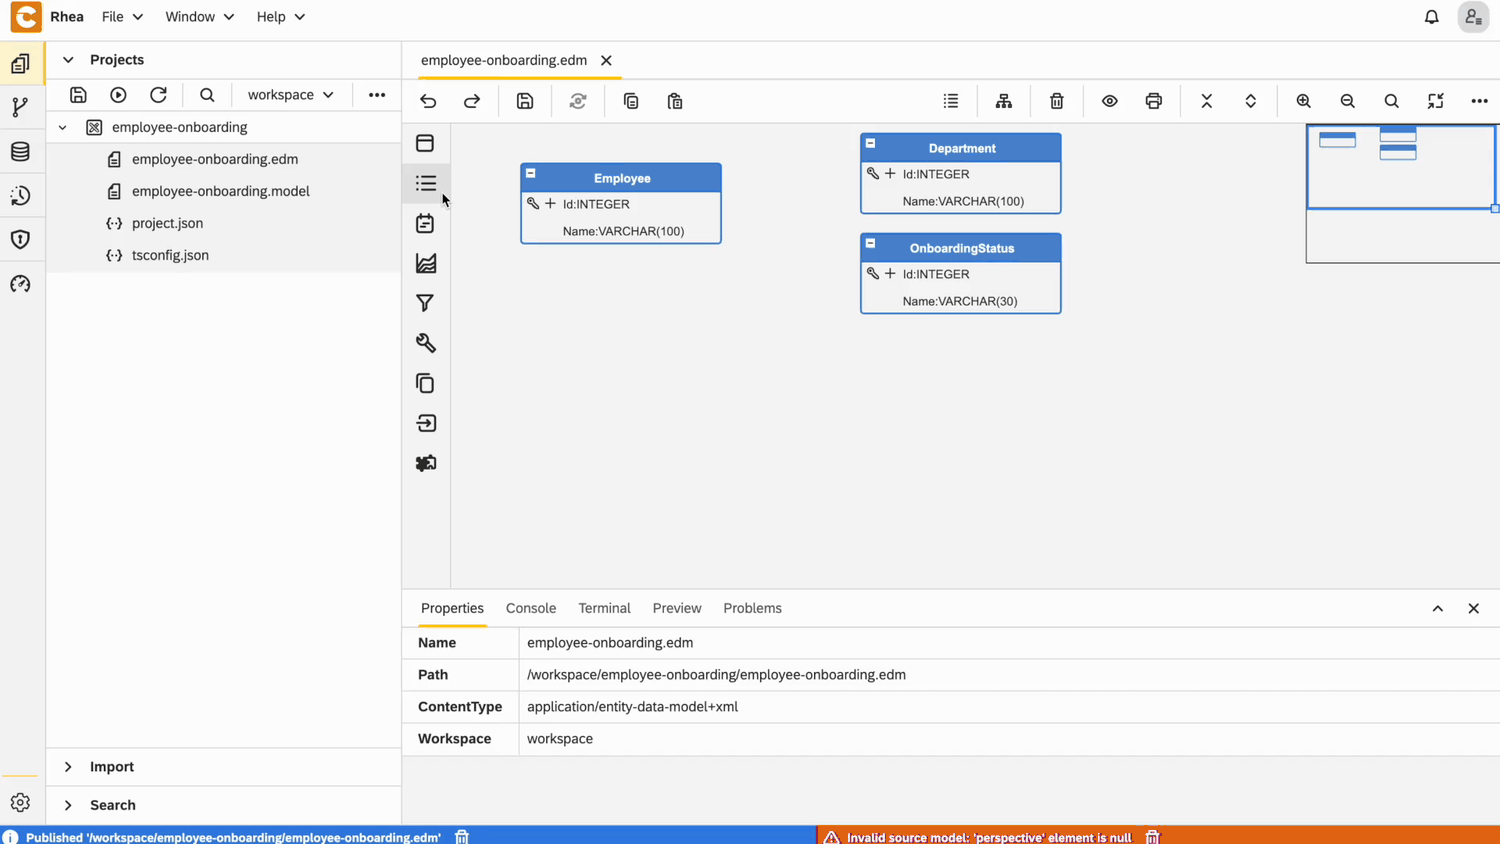
Create an entity and set its name to
EmployeeRight-click on the entity and open
PropertiesIn the User Interface section: - Set Layout type to
Manage Master Entity- Choose the already defined perspective -Employee
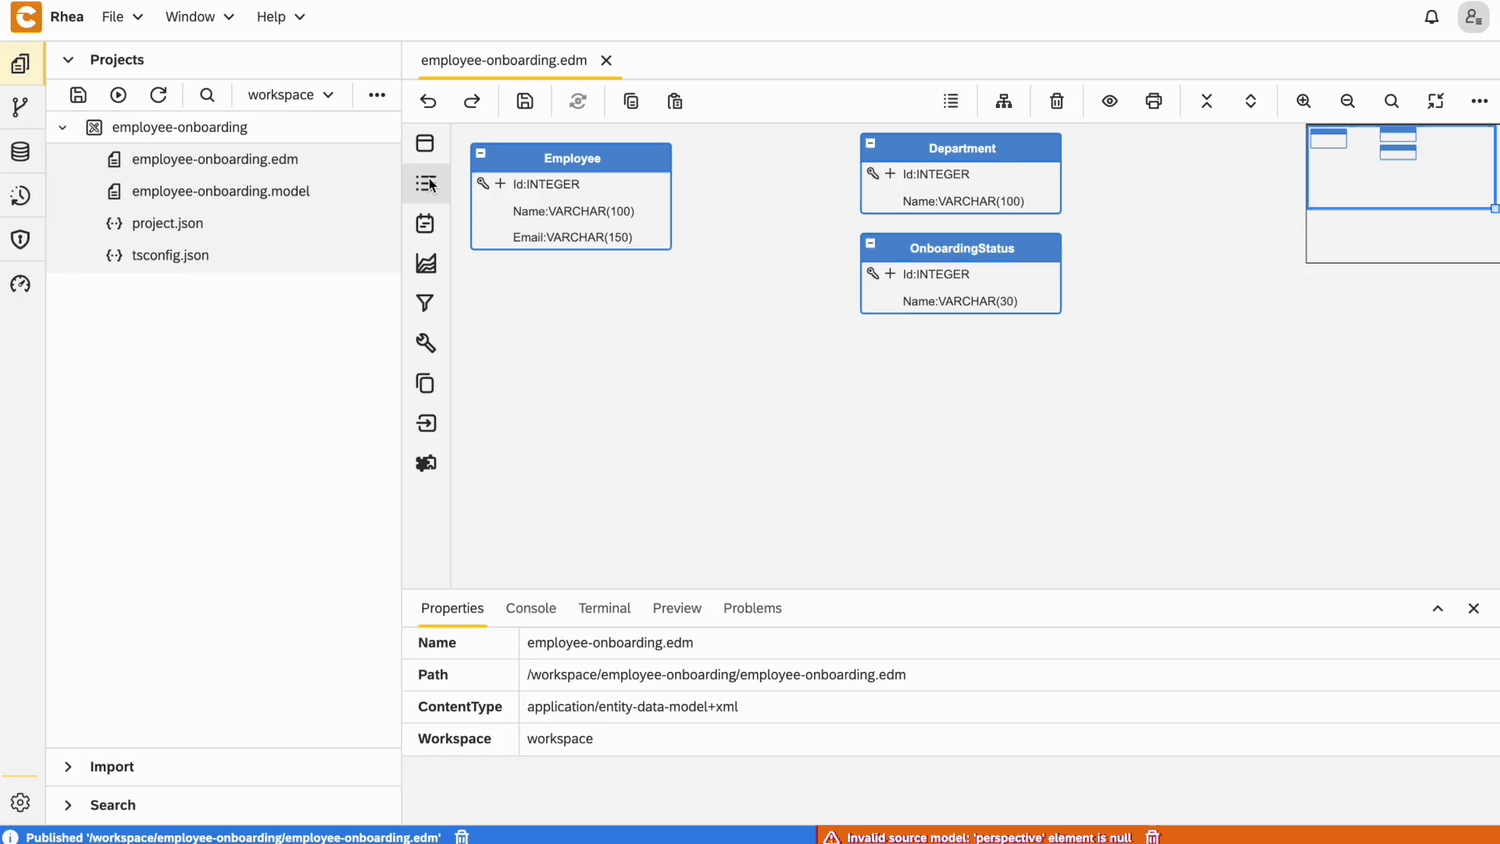
Add text field for
Name, make it required and set its length to be 100 charactersAdd field for
Email, make it required and set its length to be 150 charactersRight-click on the entity and open field
PropertiesIn the User Interface section:
- Choose Widget type to be
e-mail
- Choose Widget type to be
- Add field for
StartDateand make it required - Right-click on the entity and open field
Properties - In the Data section:
- Choose Data type to be
DATE
- Choose Data type to be
- In the User Interface section:
- Choose Widget type to be
Date picker
- Choose Widget type to be
- Add relationship to
Departmentand make it required
Configuration for Department field
From User Interface view, choose:
Dropdownfor widget typeIdfor dropdown keyNamefor dropdown value

Add relationship to
Onboarding Statusand make it required
Configuration for Onboarding Status field
- From User Interface view, choose:
Dropdownfor widget typeIdfor dropdown keyNamefor dropdown value
4. Onboarding Task Entity
Add Perspective for
Onboarding TaskCreate an entity and set its name to
Onboarding TaskRight-click on the entity and open
PropertiesIn the User Interface section: - Set Layout type to
Manage Master Entity- Choose the already defined perspective -Onboarding TaskAdd relationship to
Employeeand make it required
Configuration for Employee field
From User Interface view, choose:
Dropdownfor widget typeIdfor dropdown keyNamefor dropdown value
Add relationship to
Employee, set field name to beAssigneeand make it required
Configuration for Assignee field
From User Interface view, choose:
Dropdownfor widget typeIdfor dropdown keyNamefor dropdown value
Add relationship to
Onboarding Status, set field name to beStatusand make it required
Configuration for Status field
From User Interface view, choose:
Dropdownfor widget typeIdfor dropdown keyNamefor dropdown value
Add field for
CompletedAtand make it requiredRight-click on the entity and open field
PropertiesIn the Data section:
- Choose Data type to be
DATE
- Choose Data type to be
In the User Interface section:
- Choose Widget type to be
Date picker
- Choose Widget type to be
Final EDM
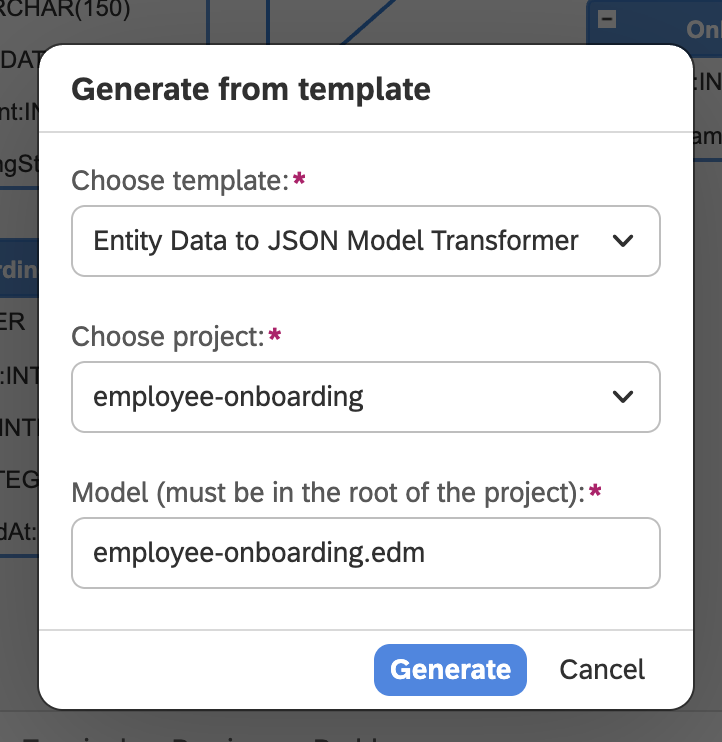
- Right-click on EDM file → Generate and choose Entity Data to JSON Transformer Model.
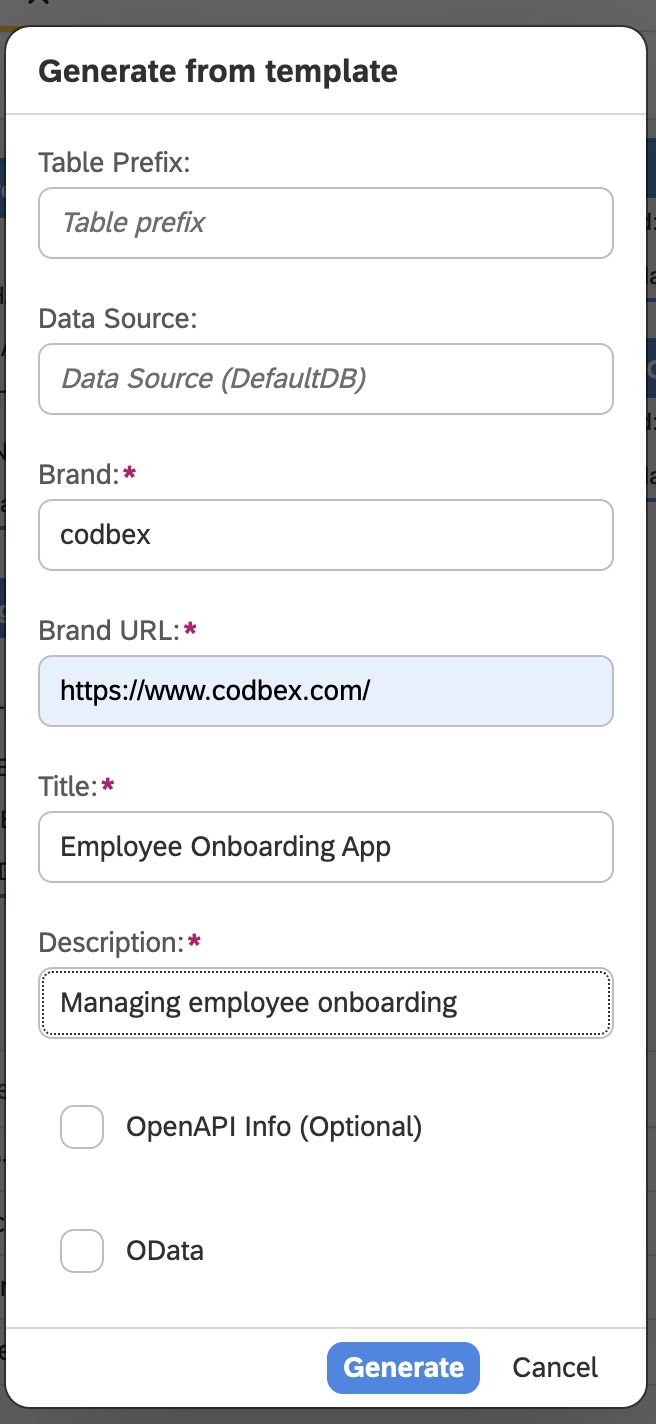
- Right-click on
.modelfile, choose Application - Full stack, fill fields in the next window with your details, and click Generate.
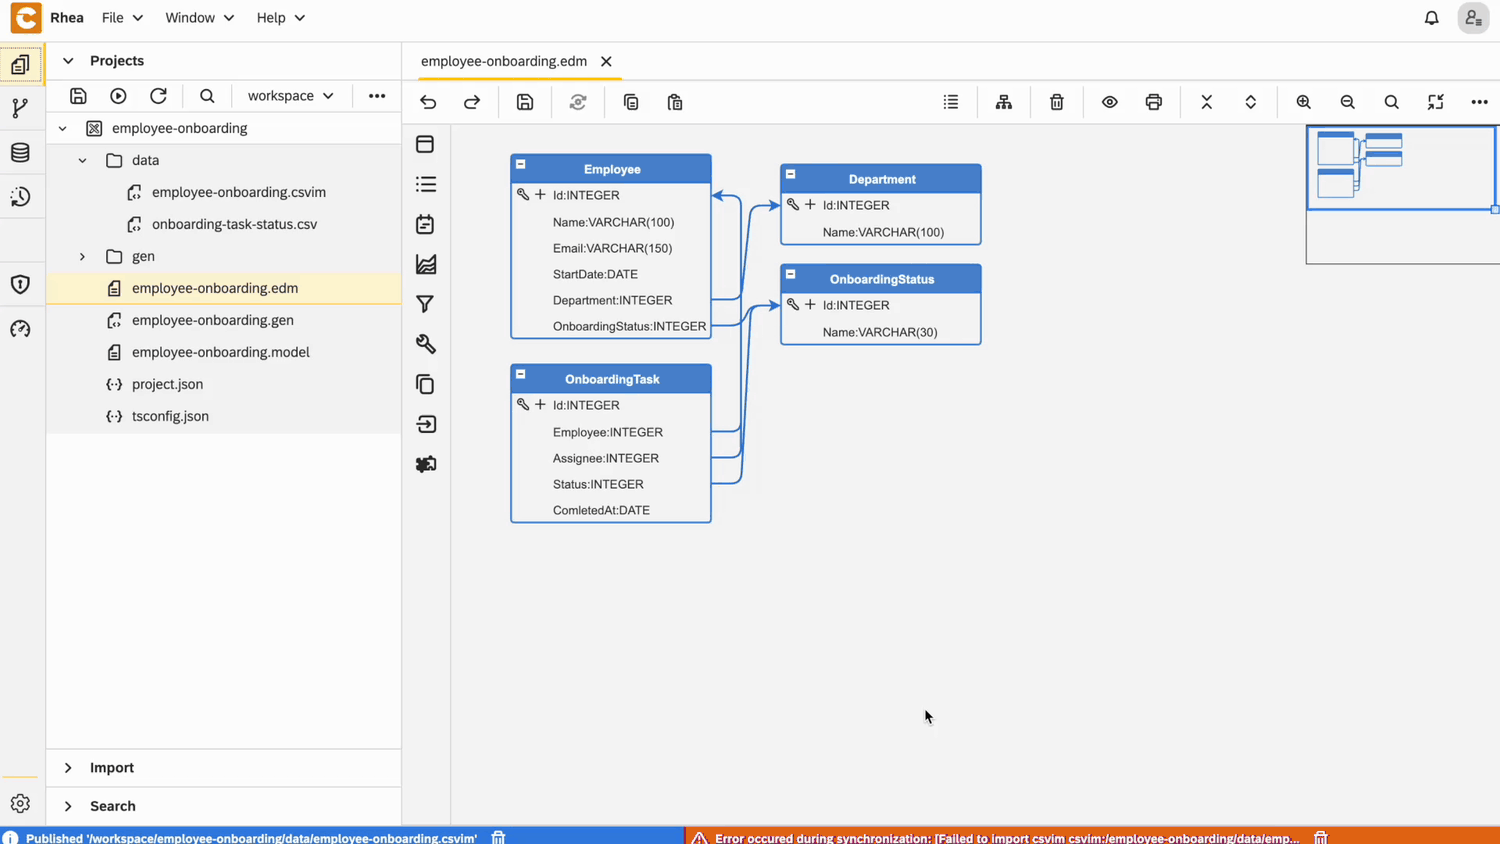
Addind Data
- Right-click on Project → New → Folder and name it
data. - Right-click on data → New → CSVFile and name it
onboarding-task-status.csv. - Open it and paste the following code:
ONBOARDINGSTATUS_ID,ONBOARDINGSTATUS_NAME
1,Pending
2,In Progress
3,Completed- Right-click on data → New → CSV Import Model and name it
employee-onboarding.csvim. - Open it and paste the following code
{
  "files": [
    {
      "table": "CODBEX_ONBOARDINGSTATUS",
      "schema": "PUBLIC",
      "file": "/employee-onboarding/data/onboarding-task-status.csv",
      "header": true,
      "useHeaderNames": true,
      "delimField": ",",
      "delimEnclosing": "'",
      "distinguishEmptyFromNull": true,
      "version": ""
    }
  ]
}
Publishing
- Publish the project
- Open Dashboard and now you can see the application
Adding to GitHub
- Open the
Gitperspective. - Right-click your project and select Share.
- Enter the required details and click
Share - Your project is now shared to GitHub
Conclusion
Ready to build your own? Click here to learn more or access the Employee Onboarding Sample App. By following this guide, you've taken the first steps in building a well-structured Entity Data Model using codbex Rhea. Through the Sample Employee Onboarding Process, we've demonstrated how to define entities, set up relationships, and create a model that accurately represents your data. Whether you're scaling this up for a larger system or just experimenting to learn, this foundation will serve you well in any project. Keep exploring, keep modeling—and don’t forget, a well-designed data model is the backbone of a successful application.
Other blogs
- Onboarding Process Tutorial 1: EDM Configuration
- Onboarding Process Tutorial 2: BPMN Configuration - Service Task Definition
- Onboarding Process Tutorial 3: SMTP Connection
- Onboarding Process Tutorial 4: User Task Definition and Logical Gateways
- Onboarding Process Tutorial 5: Configuring Subprocess
- Onboarding Process Tutorial 6: Completing Onboarding Process