Building a Simple ETL Workflow with Phoebe and Apache Airflow
Overview
Modern data engineering requires not only powerful tools for orchestration but also intuitive development environments. This is where Phoebe comes in—a modern Web IDE tailored for designing and managing Apache Airflow v3 workflows with ease.
In this blog post, we’ll explore how to use Phoebe to implement a simple ETL scenario, transforming employee data from a source table to a target table by applying a basic transformation: converting names to uppercase. Along the way, we’ll take advantage of Phoebe’s rich development perspectives, which streamline every aspect of the workflow design process.
Overview of Phoebe
Phoebe is a web-based IDE purpose-built for developing and managing workflows in Apache Airflow v3. It provides a seamless, integrated development experience with several powerful perspectives:
- Workbench: Central area for writing and editing your DAGs and other files.
- Embedded Airflow v3 Instance: A pre-integrated, fully functional Airflow v3 setup with direct access to the Airflow UI.
- Git Perspective: Easily manage your source code, commit changes, and work with repositories from within the IDE.
- Database Management: Interact with your databases visually—view tables, run queries, and manage schemas without leaving the browser.
- Integrated Terminal: Full access to a shell terminal for advanced CLI-based operations or debugging.
This IDE is designed for data engineers, developers, and workflow designers who want to rapidly build and deploy pipelines without constantly switching between tools.
Scenario Overview: Simple ETL with Airflow
To demonstrate Phoebe in action, we'll implement a classic Extract-Transform-Load (ETL) pipeline. The goal of this example is to:
- Extract data from a source database table named
source_employees. - Transform the data by converting the
first_nameandlast_namefields to uppercase. - Load the transformed data into a target table named
target_employees.
This simple transformation highlights how Airflow can orchestrate database operations while giving us a chance to showcase the power of Phoebe's development environment.
Next Steps
In the next section of this blog, we’ll walk step-by-step through the implementation:
- Setting up the project and Airflow DAG in Phoebe.
- Creating source and target tables. Adding sample data to the source table.
- Writing the transformation logic in Python using Airflow’s PythonOperator.
- Testing and deploying the DAG via the embedded Airflow instance.
- Verifying the result in the target table.
Follow the steps below or watch the recorded video.
Step-by-Step: Implementing the ETL in Phoebe
Start Phoebe instance locally
- To start a Phoebe instance locally we need a PostgreSQL instance. To simplify the setup, let's define a
docker-compose.yamlfile using the following content:
services:
  postgres:
    image: postgres:16
    container_name: postgres
    hostname: postgres
    environment:
      - POSTGRES_USER=postgres
      - POSTGRES_PASSWORD=postgres
      - POSTGRES_DB=postgres
    healthcheck:
      test: [ "CMD", "pg_isready", "-U", "postgres" ]
      interval: 10s
      retries: 5
      start_period: 5s
    restart: always
    networks:
      - phoebe_net

  codbex-phoebe:
    image: ghcr.io/codbex/codbex-phoebe:3.6.0
    container_name: phoebe
    environment:
      - PHOEBE_AIRFLOW_POSTGRES_USER=postgres
      - PHOEBE_AIRFLOW_POSTGRES_PASS=postgres
      - PHOEBE_AIRFLOW_POSTGRES_HOST=postgres
      - PHOEBE_AIRFLOW_POSTGRES_DB=postgres
    ports:
      - "80:80"
    depends_on:
      - postgres
    networks:
      - phoebe_net

networks:
  phoebe_net:
    driver: bridge

volumes:
  postgresql_data:
driver: local- Start the instances using the following command
docker compose up- Once the created instance is started, access the Phoebe instance at
http://localhost:80 - Login using the default credentials (user:
admin, passwordadmin)
Create a project using the starter template
- Open the Workbench perspective in Phoebe.
- At
Welcomeview, selectApache Airflow Startertemplate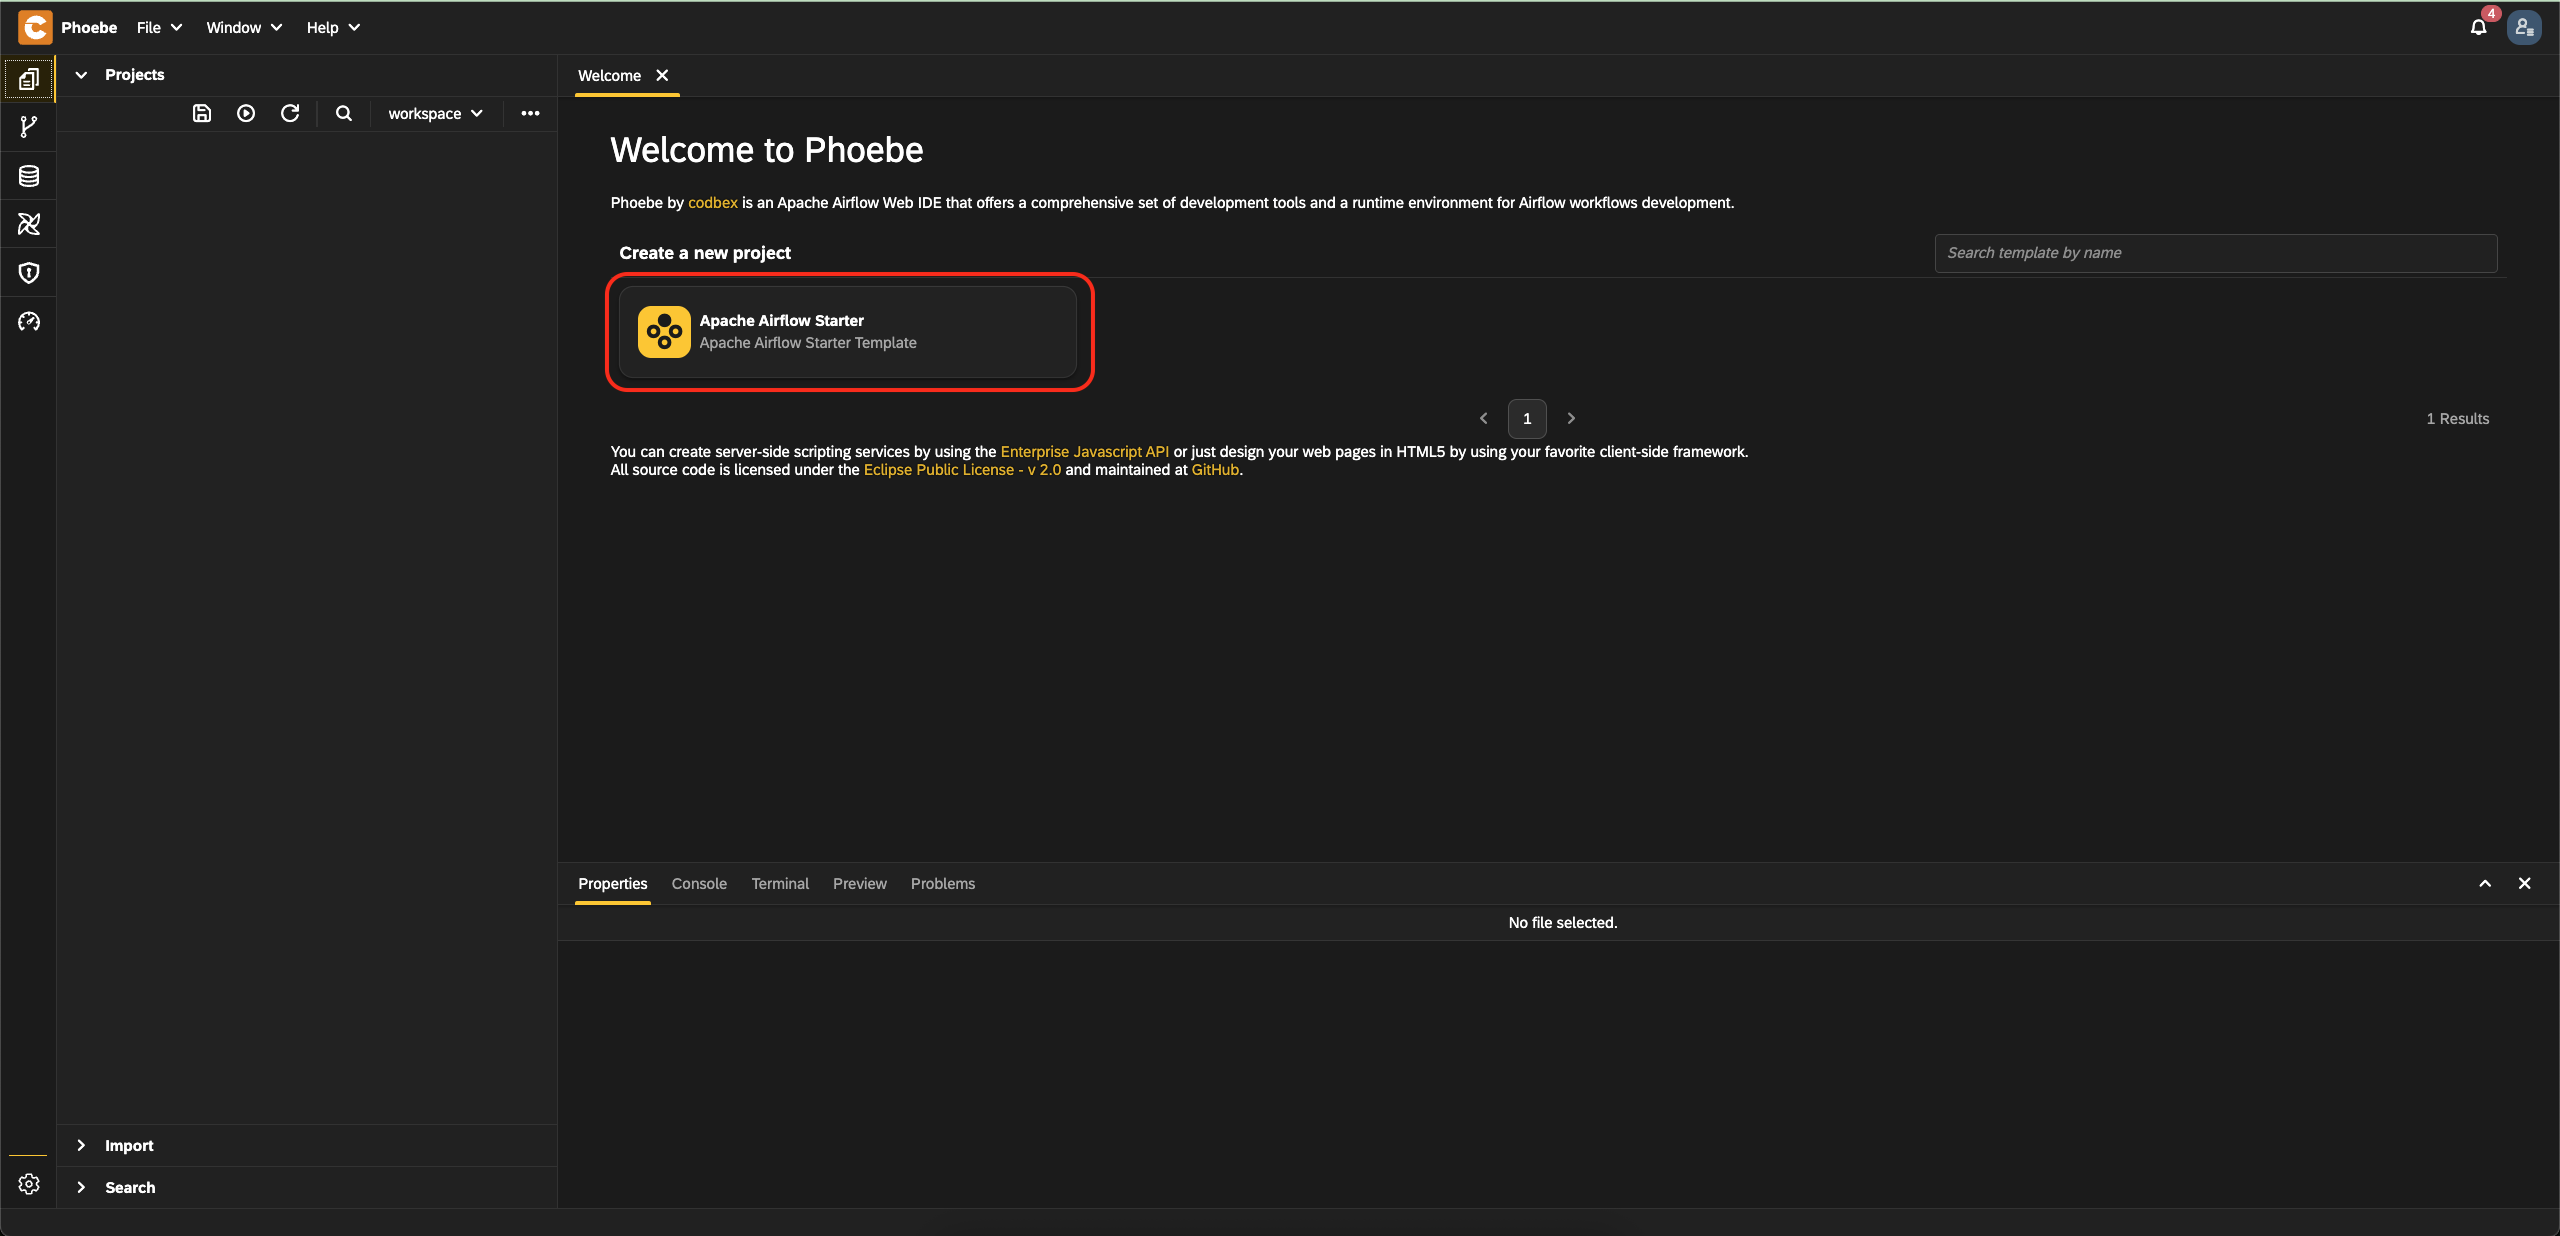
- Set
employees-etlforProject - Set
etl_employees_dagforFile name - Set
etl_employees_dagforThe id of the generated DAG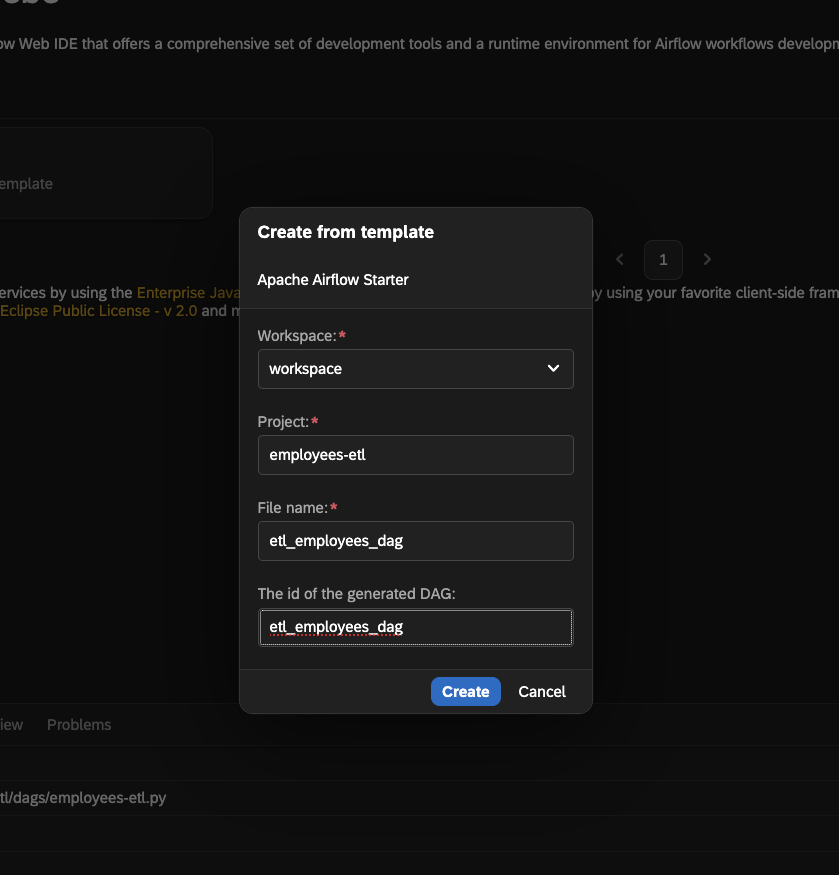
- Click on the
Createbutton - A starter project will be automatically generated for you


Register data source to the PostgreSQL instance
To allow the Phoebe instance to connect to the PostgreSQL instance, we need to define a data source file. This will allow us to inspect the PostgreSQL in the database perspective.
- Create a new folder with name
dbin the created project - Create a file
demo-postgre.datasourcein folderdb - Add the content from this link
Define DB schema and add sample data
To define the structure of the tables and to fill the source table with a sample data, we need to create a several special files.
- Add new file called
demo.schema(for the schema definition) to folderdbwith the content from this link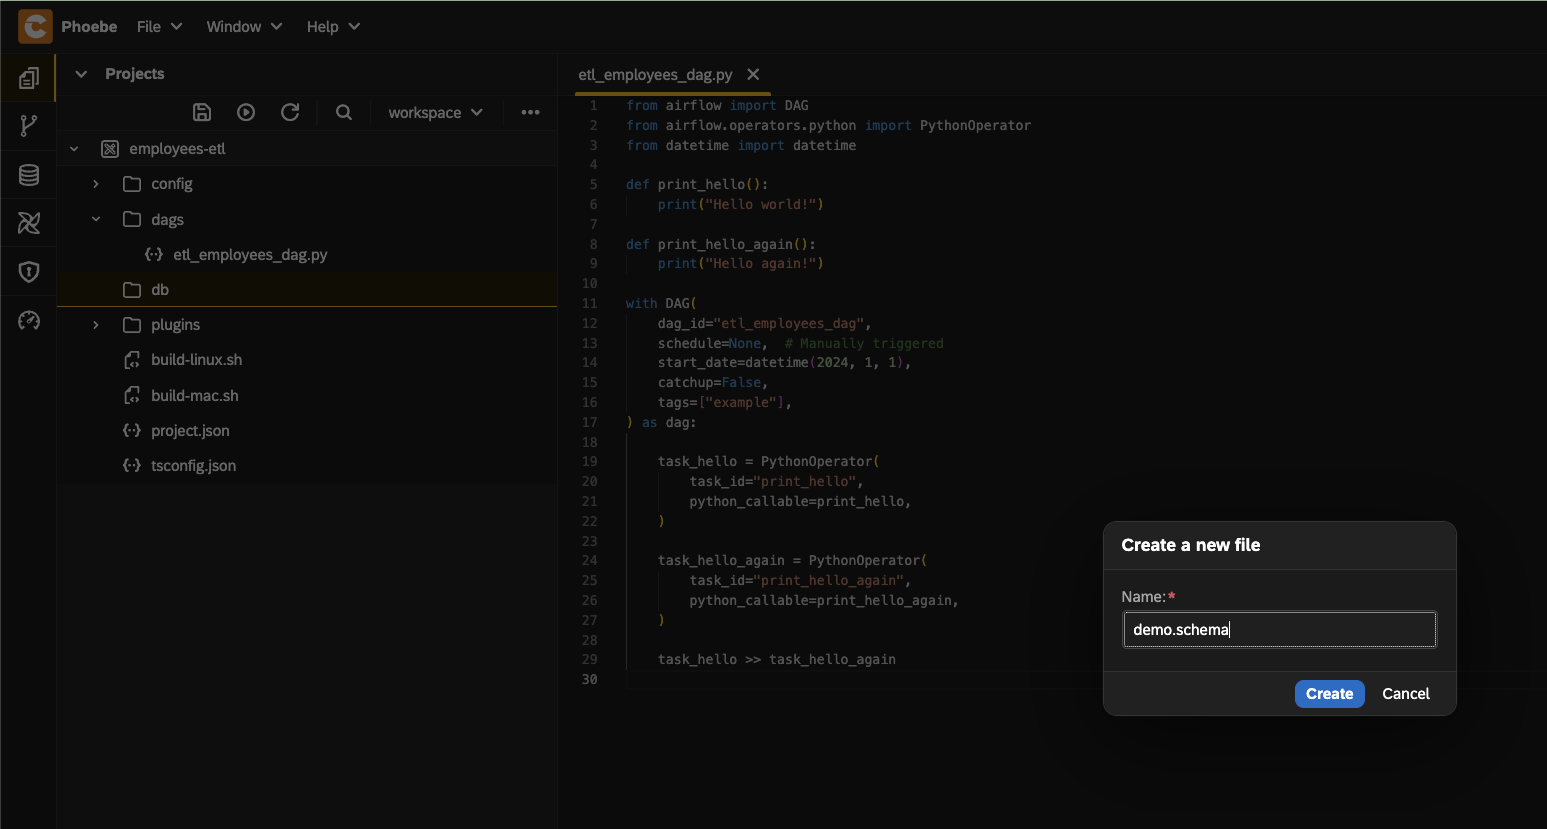
- Next, add a sample data file
source_employees.csvwith the content from this link - Create a file
demo-data.csvimwith this content

Verify tables structure and data are created
- Save all files and click on
Publish allbutton. After a few seconds these files will be registered and tables will be created. The source table should be filled with a sample data.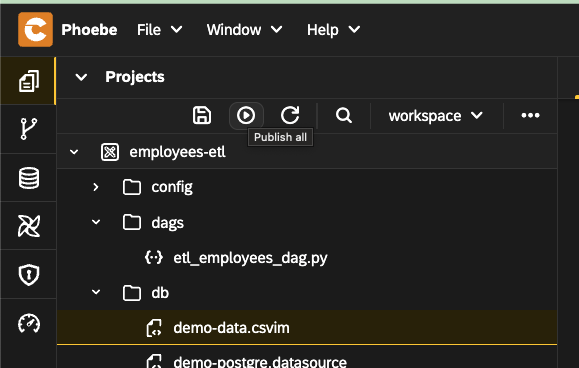
- Go to the
Databaseperspective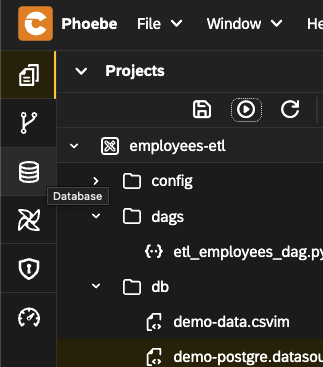
- From the data sources drop down, choose the create data source
demo-postgre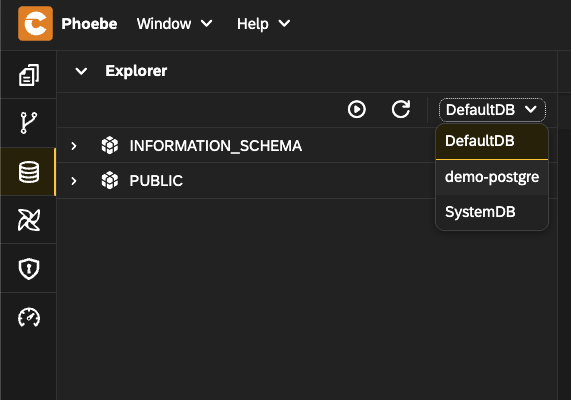
- Expand the
publicschema and inspect the tables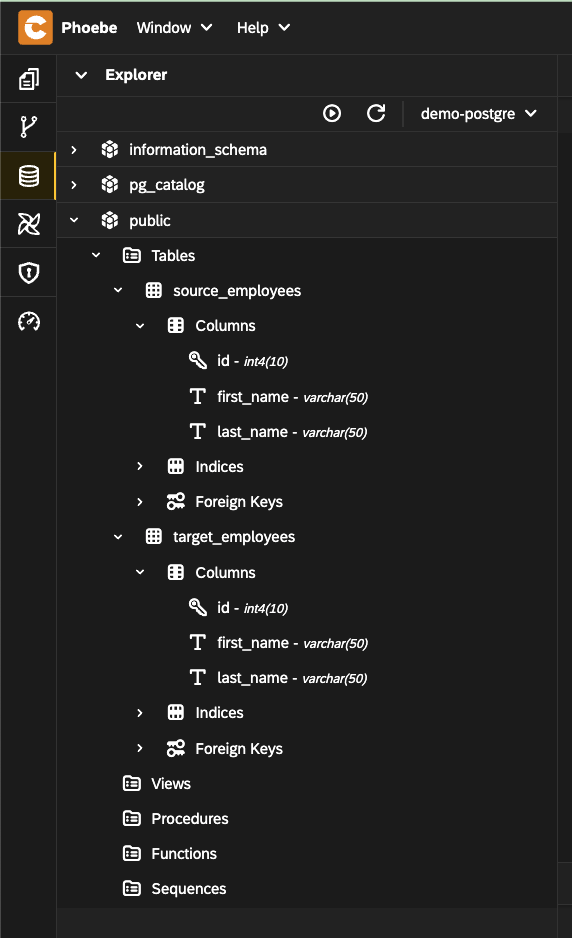
- Execute the following SQL statements to ensure that table
source_employeeshas1000entries and that the target table is emptysql-- source_employees table SELECT * FROM source_employees; SELECT COUNT(*) FROM source_employees; -- target_employees table SELECT * FROM target_employees; SELECT COUNT(*) FROM target_employees;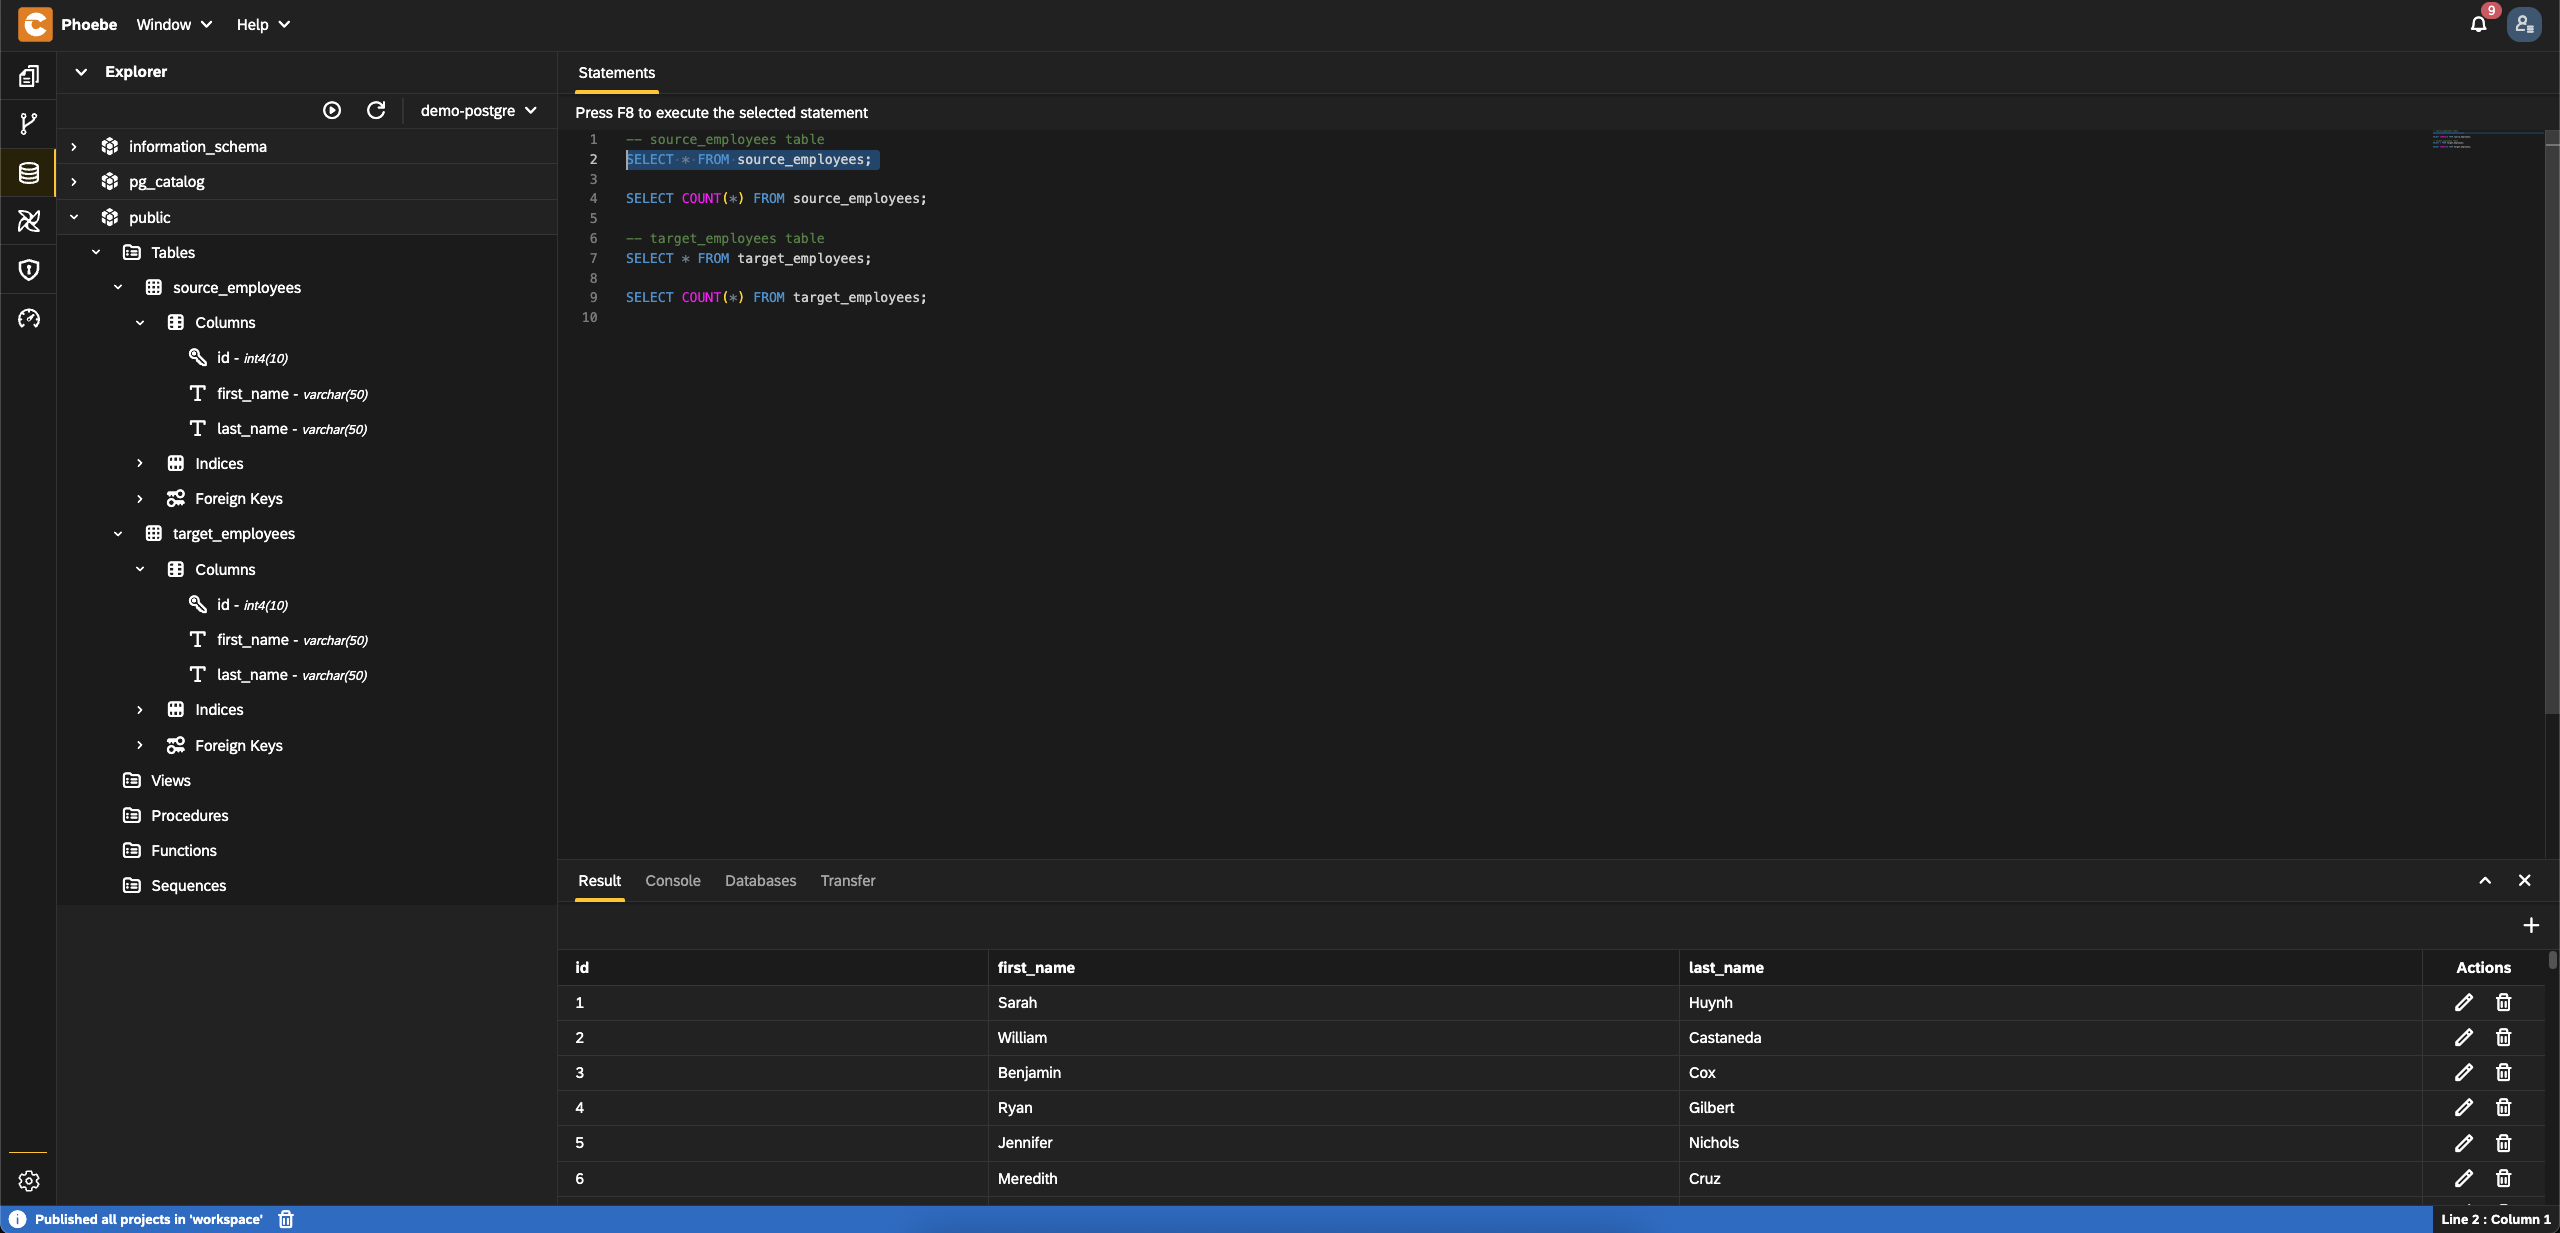


Implement the ETL using DAG
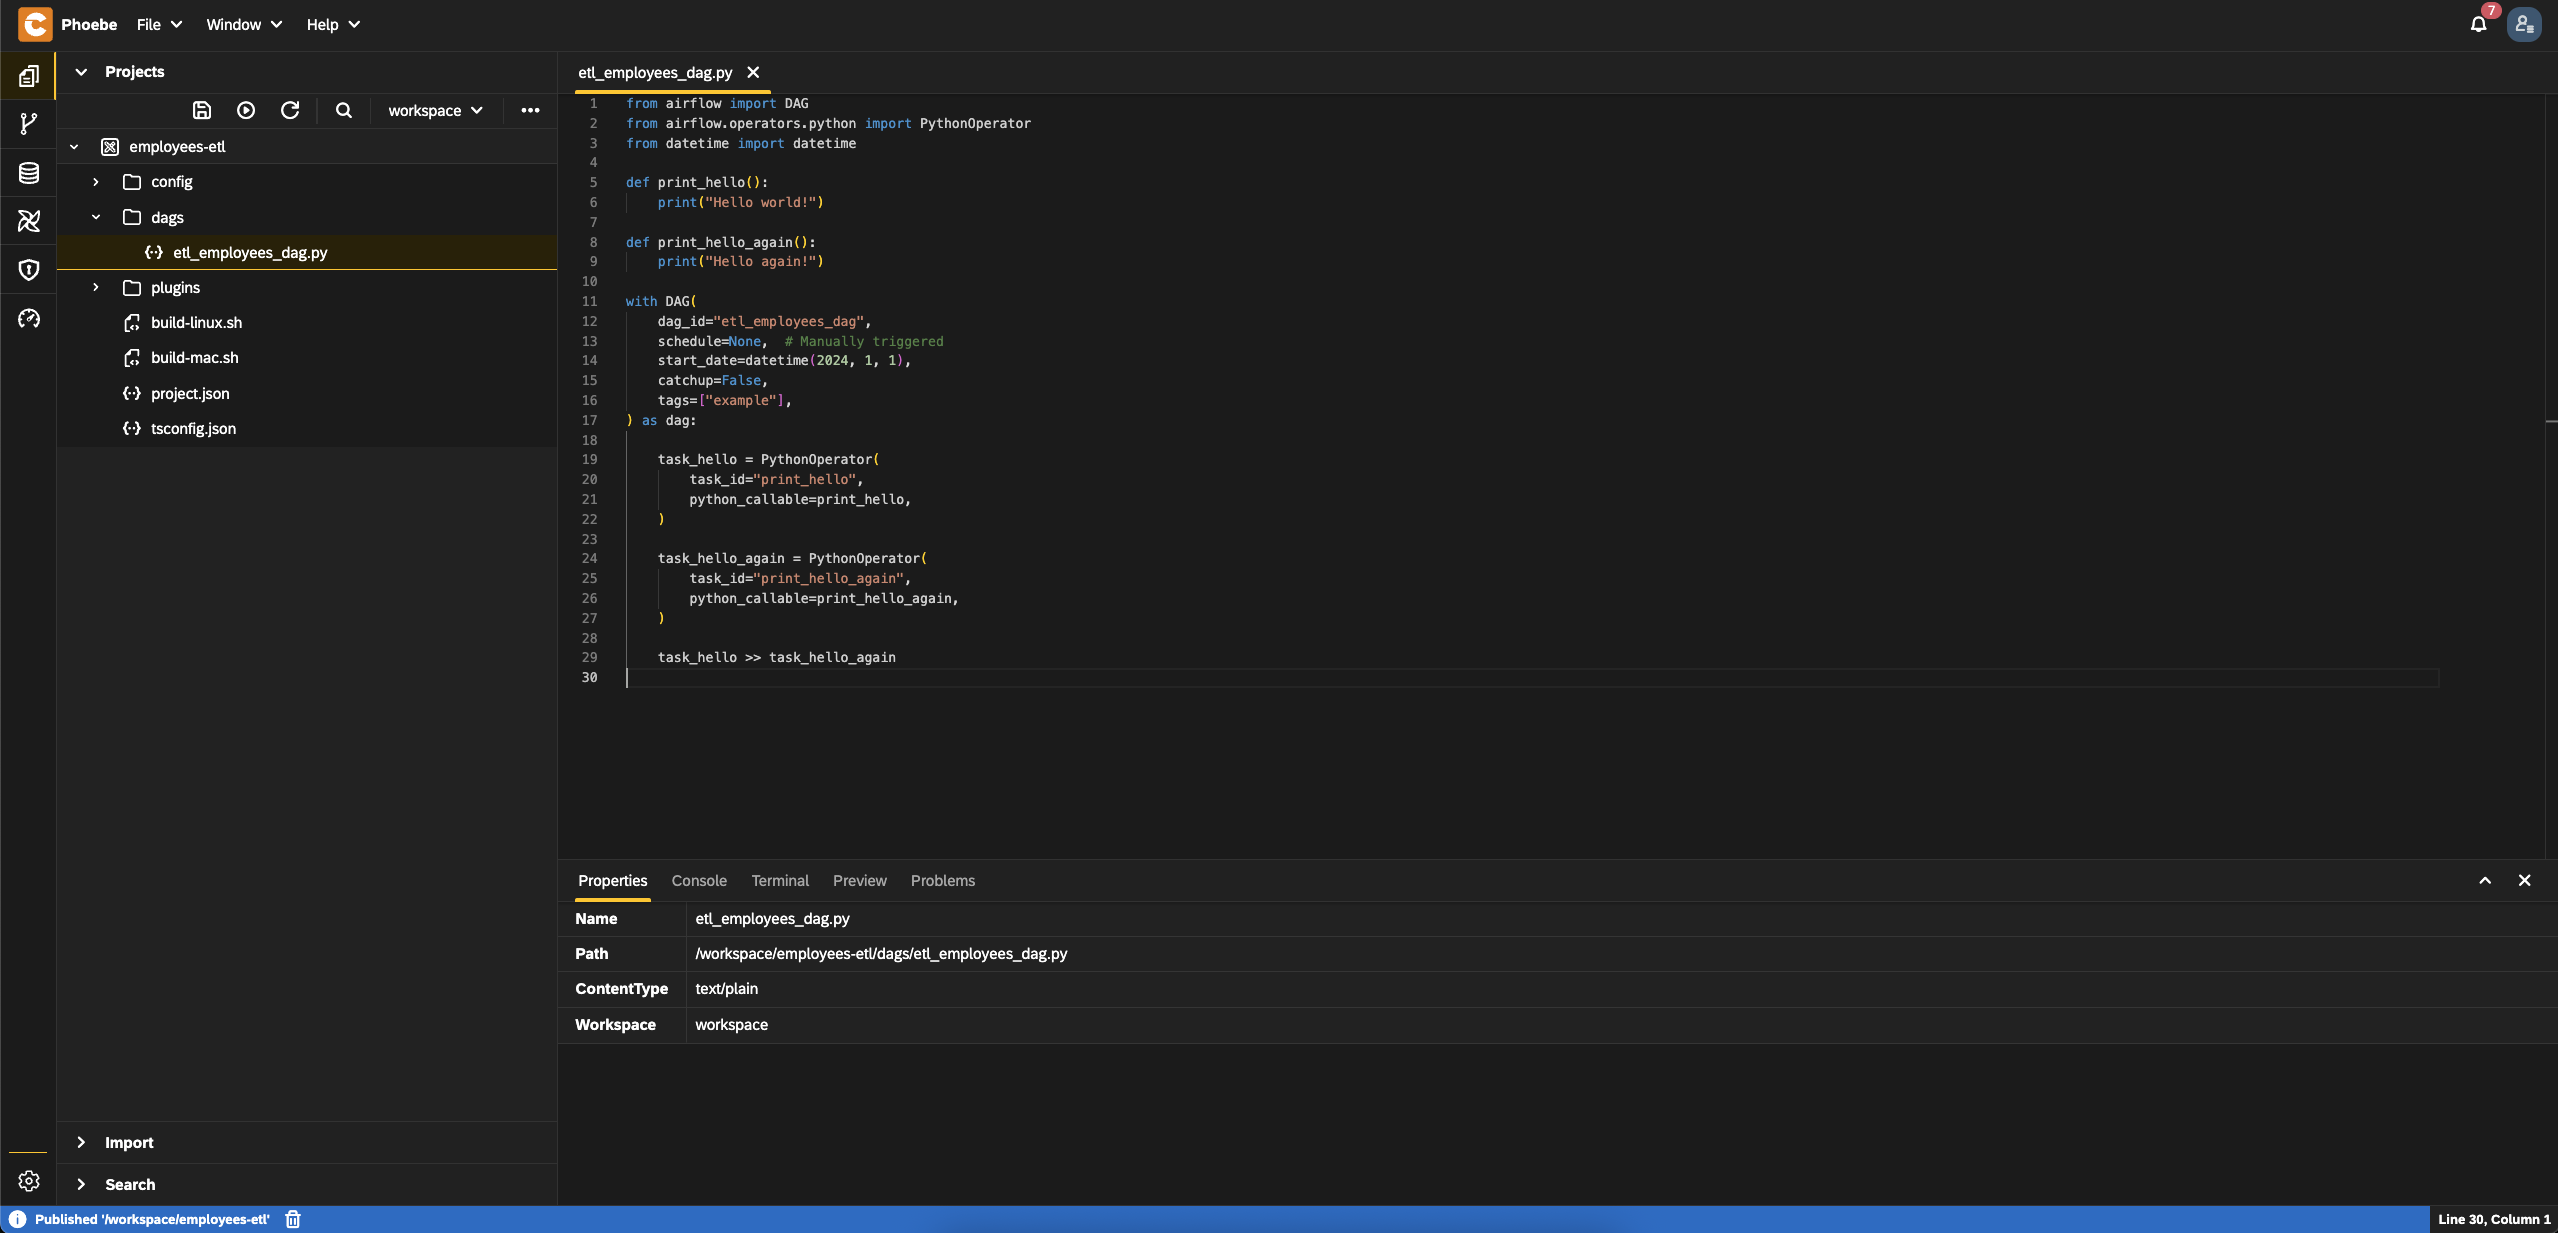
- Go to the
Workbench - Open the DAG file
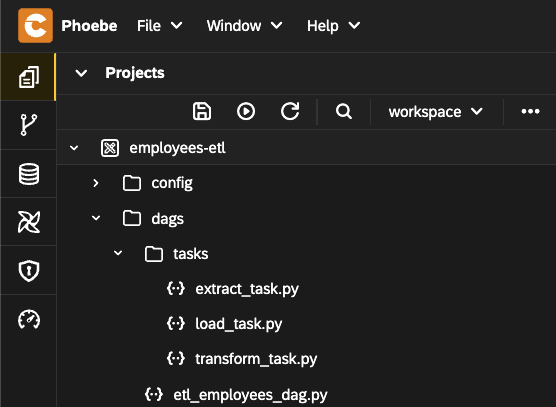
etl_employees_dag.pyand replace its content with this one - Create folder
tasksindagsfolder - Add the extract task logic
- Create file
extract_task.py - Add this content
- Create file
- Add the transform logic
- Create file
transform_task.py - Add the content from this link
- Create file
- Add the load task
- Create file
load_task.py - Add this content
- Create file
- The structure should look like this
- Publish the project using
Publish allbutton to apply these changes - After a few seconds the changes will be applied

Trigger the DAG execution
- Go to the
Airflowperspective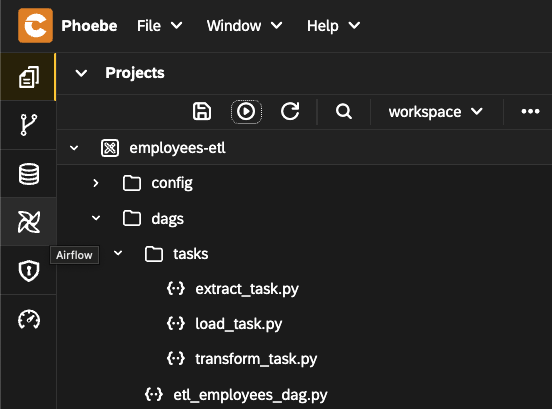
- Select
Dags - You should see the created DAG

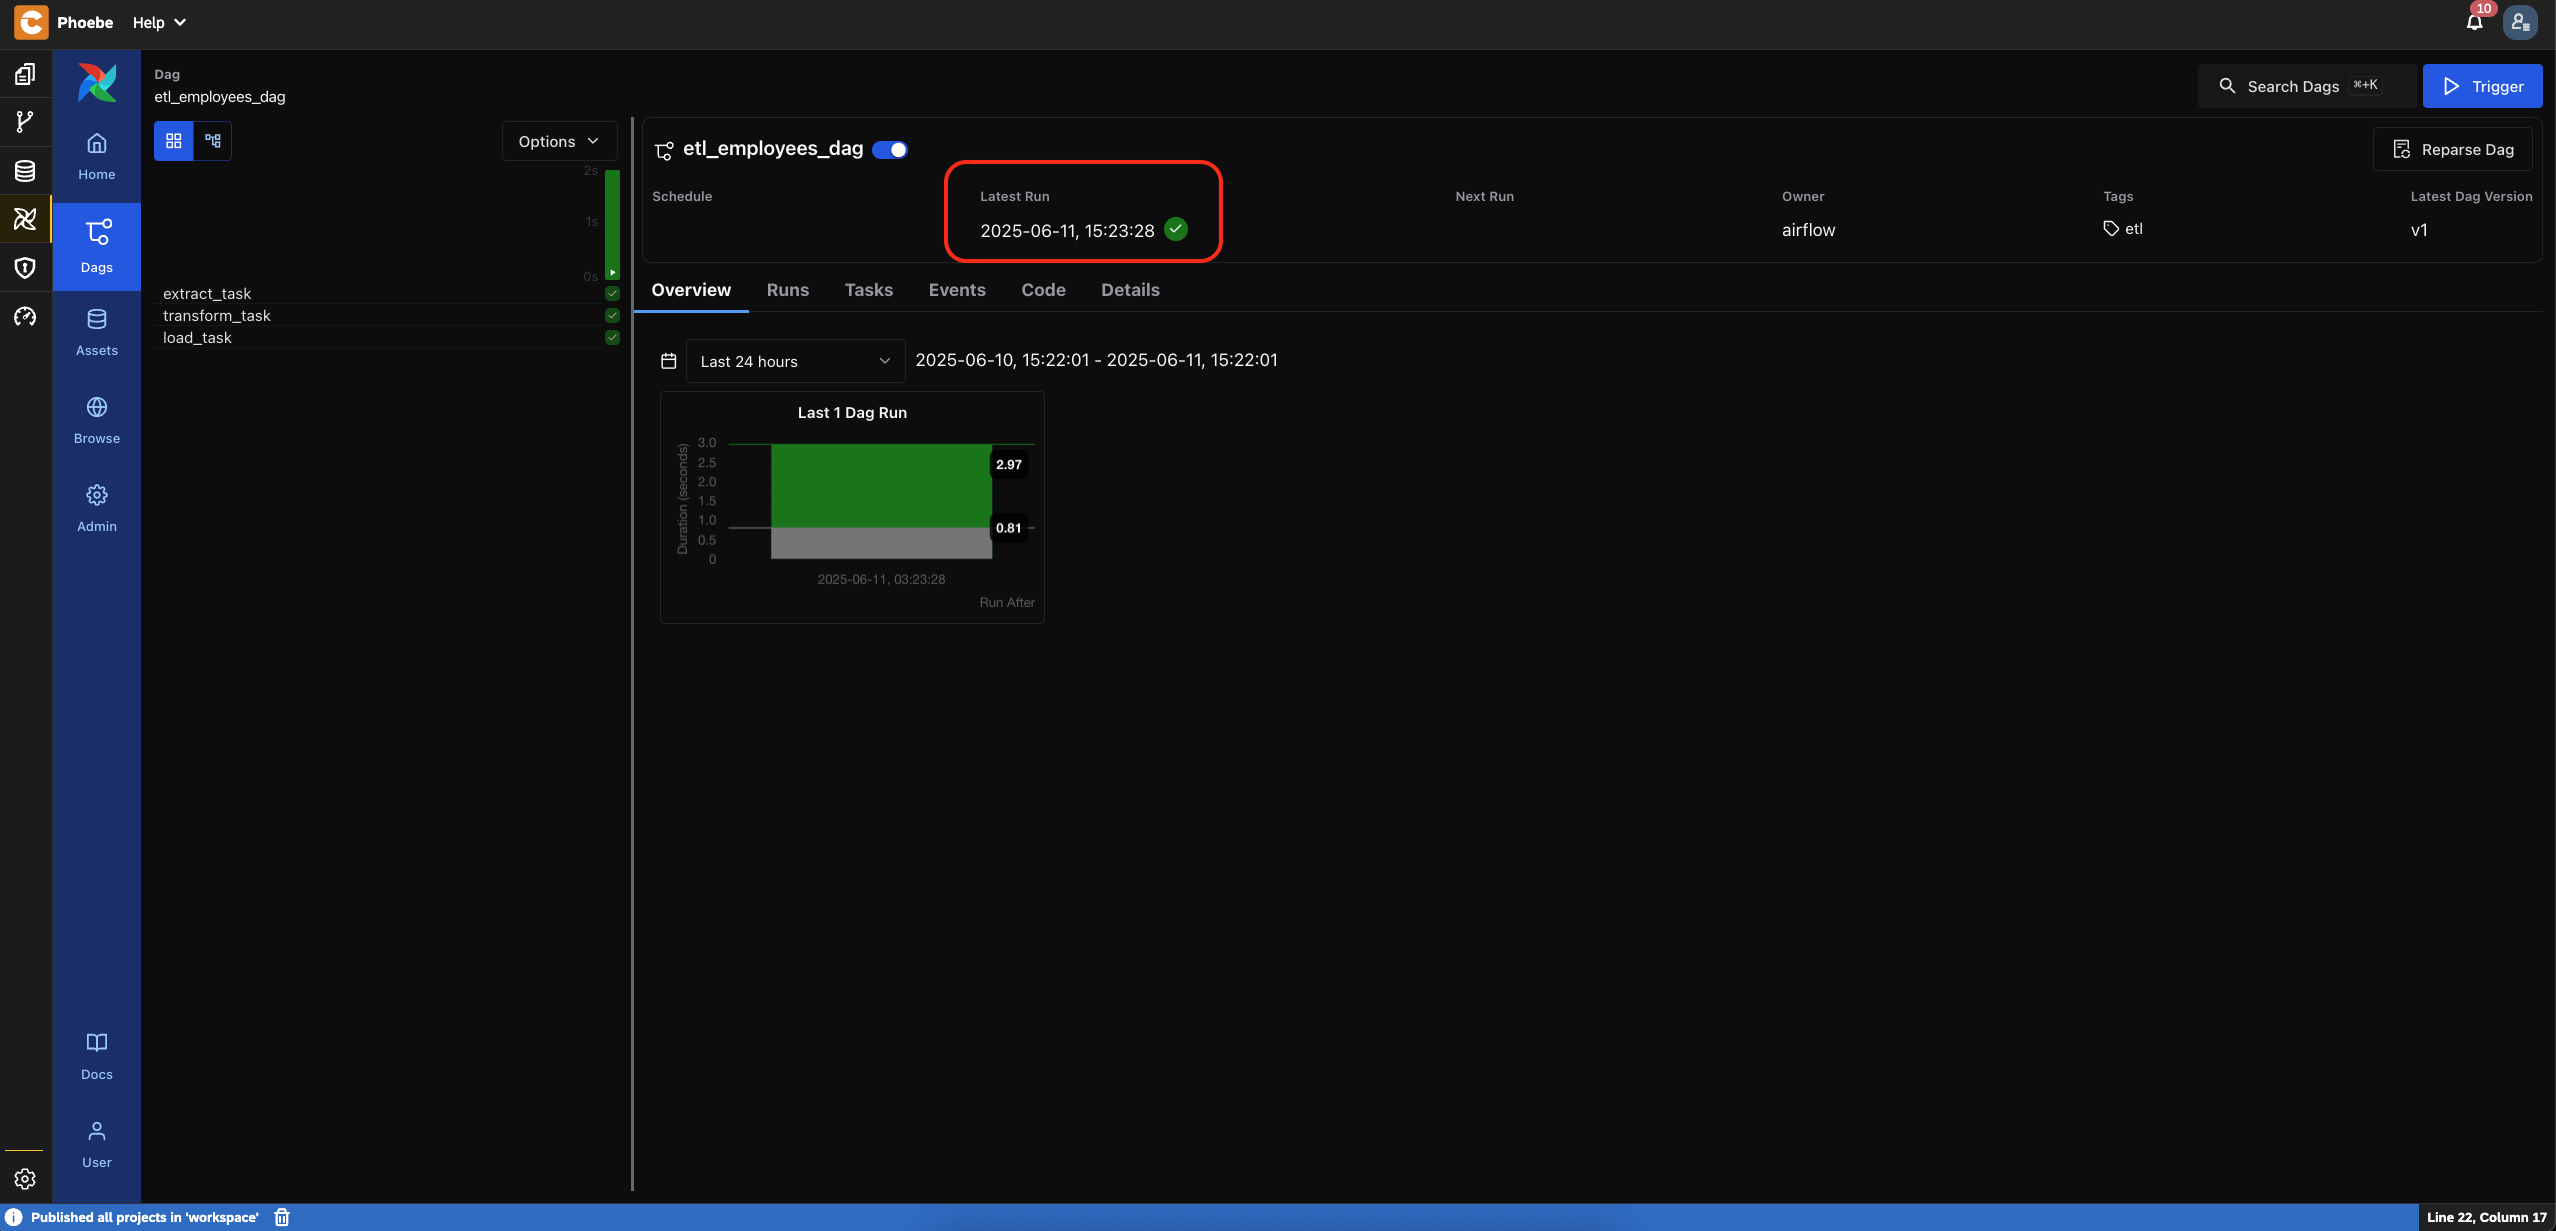
- Click on the
etl_employees_dagDAG - Trigger a new execution using the
Triggerbutton
- You should see a successful execution
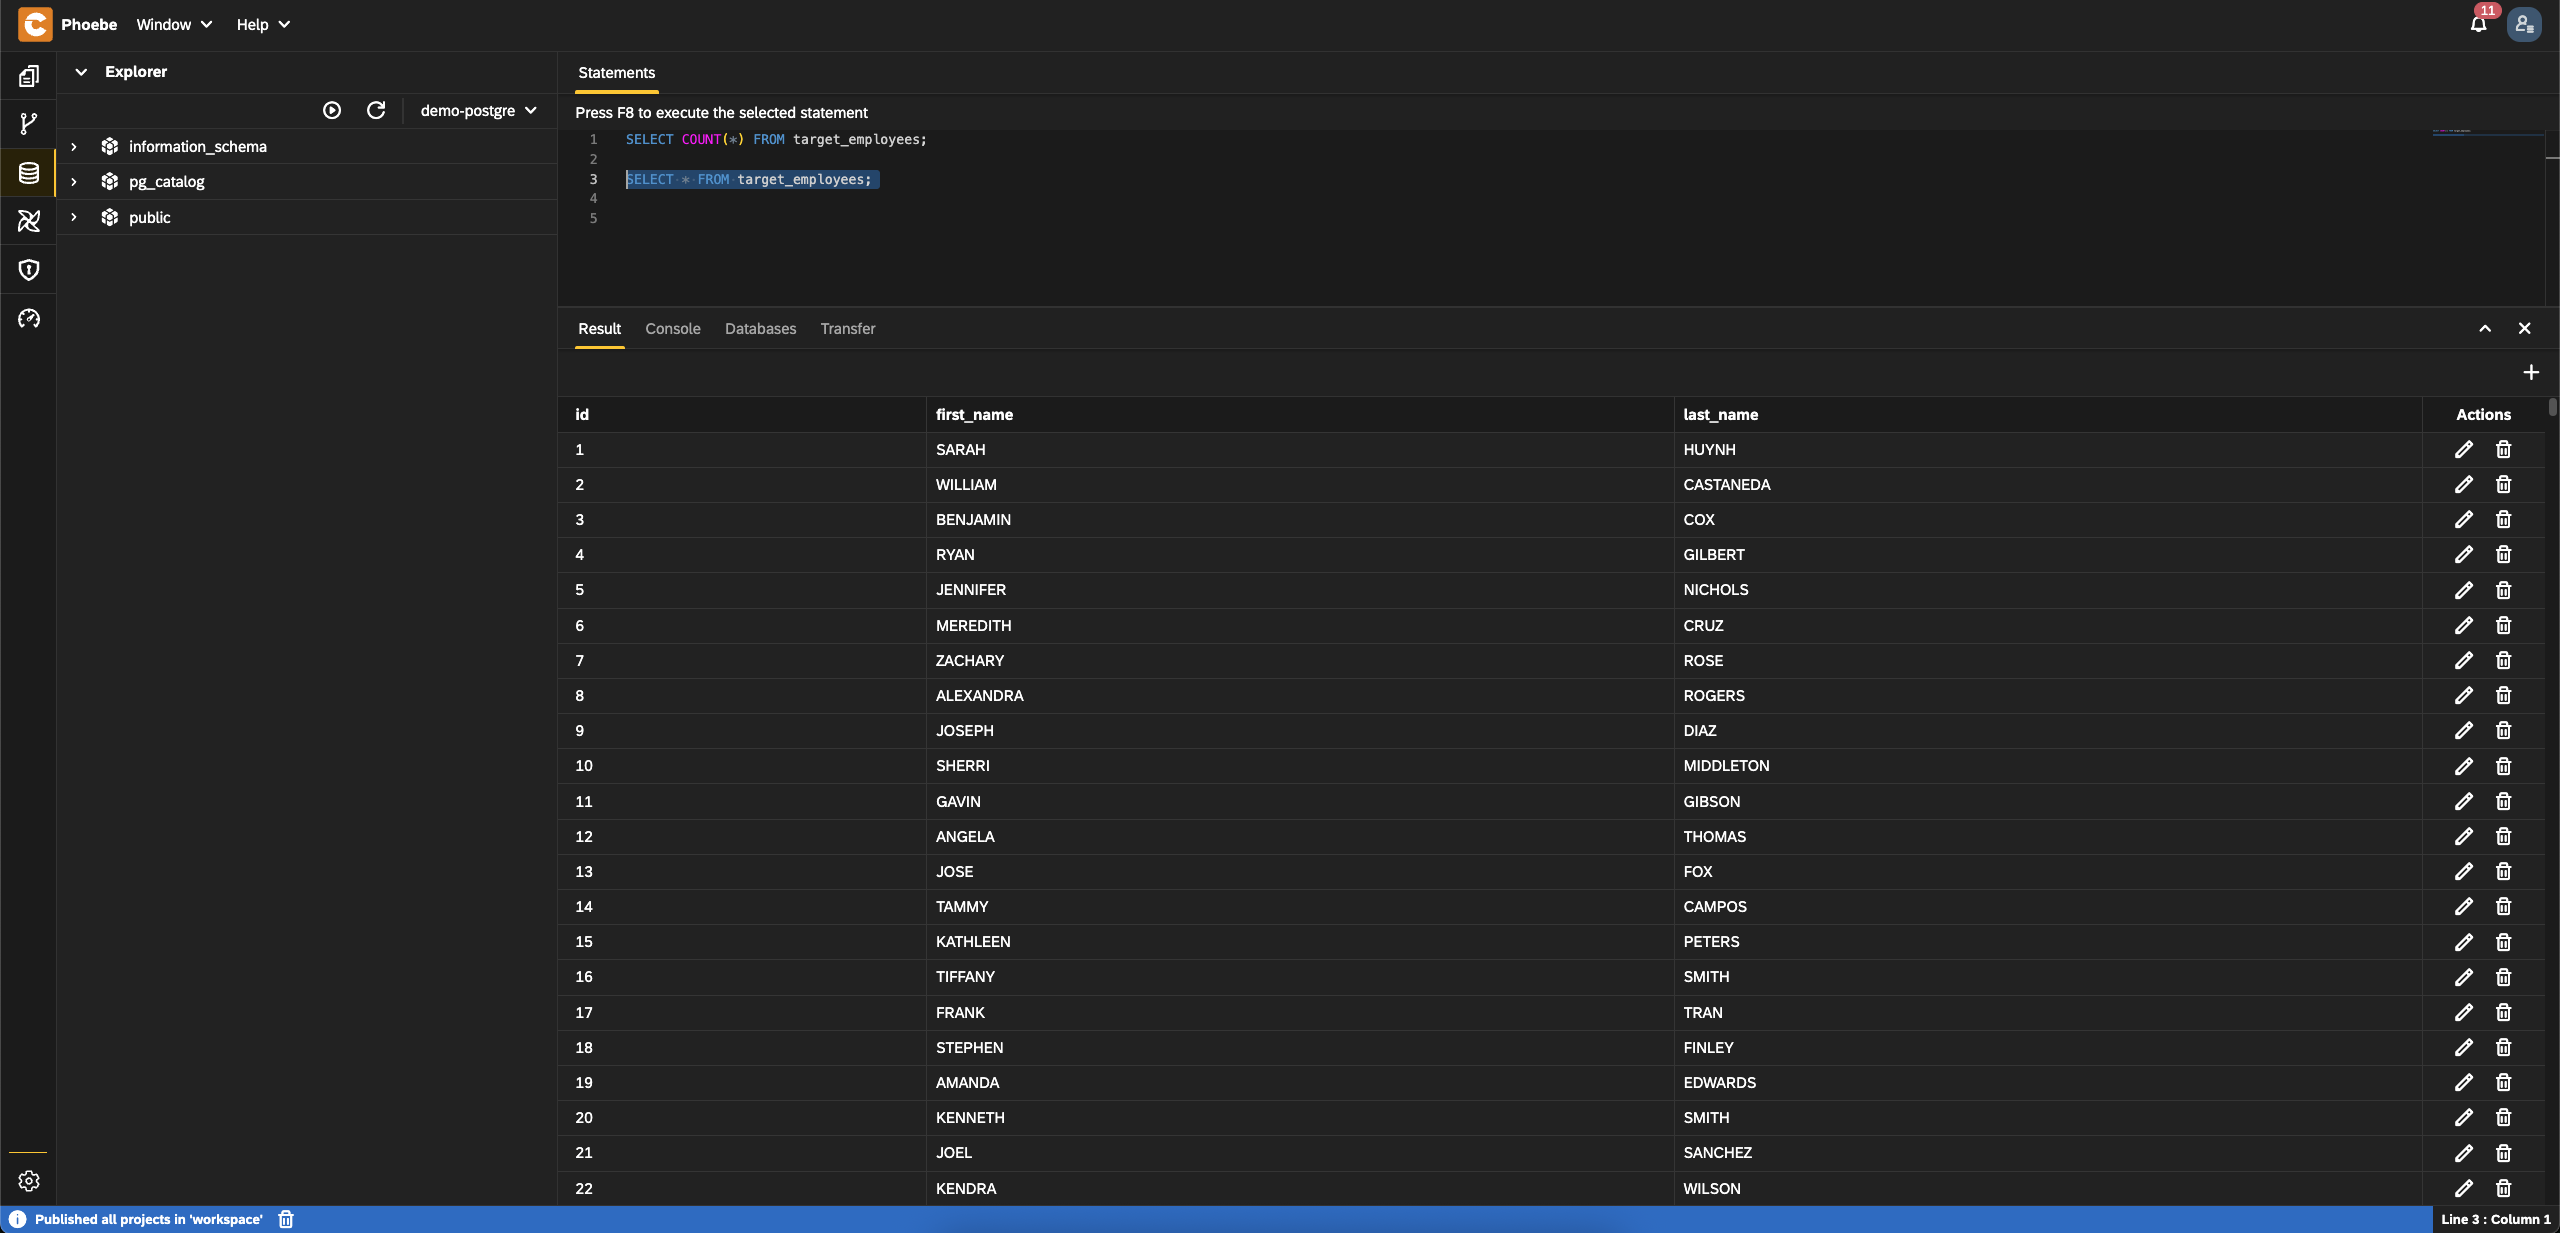
- Verify ETL execution Now, let's verify that the target table contains entries with upper case for first name and last name
- Go to
Databaseperspective - Execute the following SQL statementssql
SELECT COUNT(*) FROM target_employees; SELECT * FROM target_employees; - Table
target_employeesshould have1000entries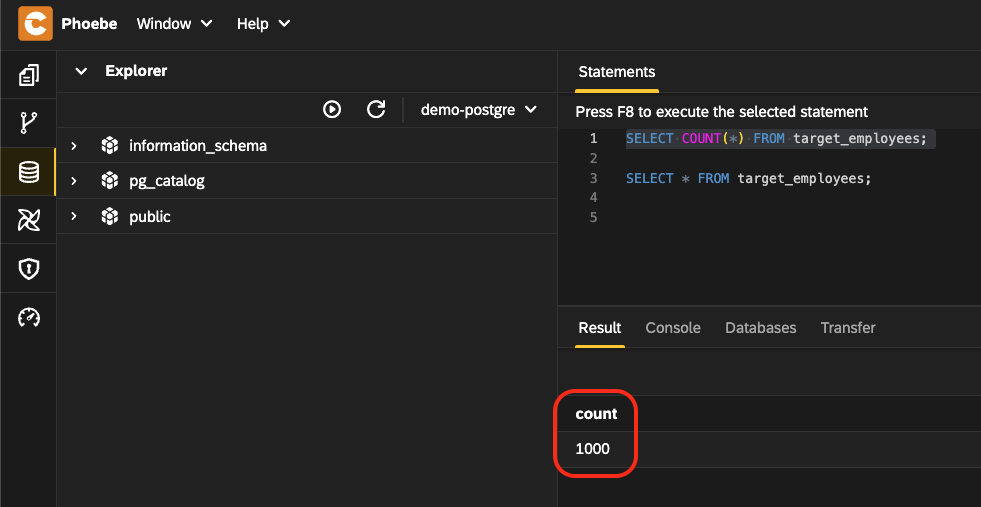
- All entries must be in uppercase
- Go to


Congratulations, you have successfully implemented the ETL scenario!
GitHub repository for the project
The project we implemented can be found in this GitHub repository.
If you don't want to go through the blog steps, you can clone the repository using the Git perspective of Phoebe.
Once the project is cloned, you have to publish it.
Next you can explore and play with the content of the project.
Final Thoughts
This ETL pipeline, while simple, illustrates a foundational use case that many real-world workflows build upon.
Using Phoebe, we can:
- Rapidly prototype and test data workflows.
- Stay within a single, unified development environment.
- Easily manage code, data, and execution—all from the browser.
Whether you're just starting with Airflow or looking to streamline your pipeline development, Phoebe offers a productive and modern approach to orchestrating data workflows.